Tella · Youtube · 21:57

I Use Claude to Edit Videos: Here's My Exact Process

A working agentic workflow that handles rough cuts, overlays, sound effects, memes, zooms, short-form repurposing, and thumbnail selection — all from Claude.

Posted
May 18th 2026
16 days ago
Duration
21:57
Format
Tutorial
sincere
Channel
TE
Tella
§ 01 · The Hook

The bait, then the rug-pull.

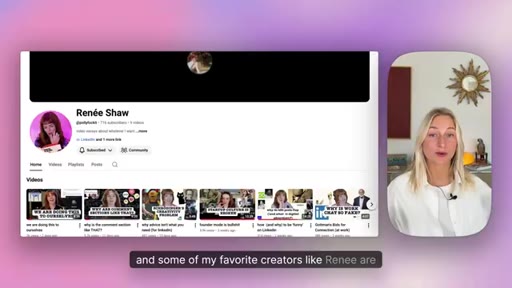
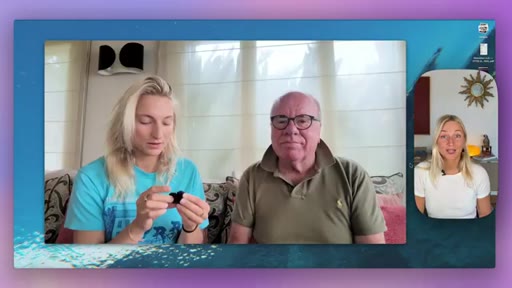
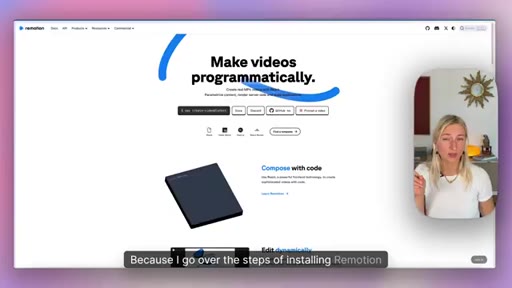
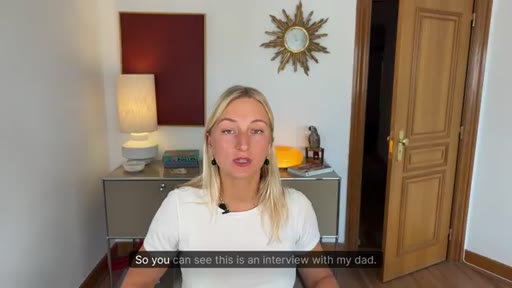
The future of video editing arrived without an announcement. When Louise de Sadeleer shares her exact Claude workflow — silence removal, image overlays, Duolingo sound effects, memes placed by transcript logic, 9:16 repurposing without OpusClip — what lands is not the technology but the matter-of-fact delivery: this is just how she edits now.

§ · Chapters

Where the time goes.

00:00 – 01:38

01 · Introduction

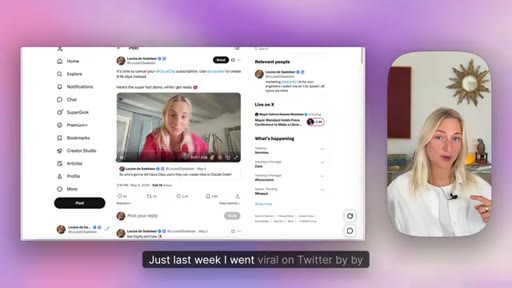
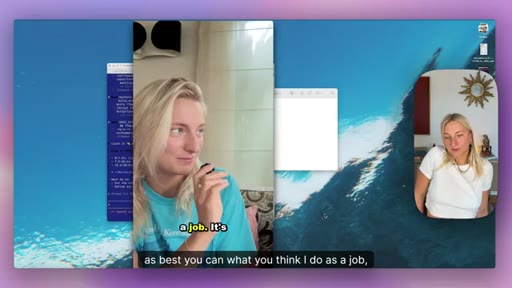
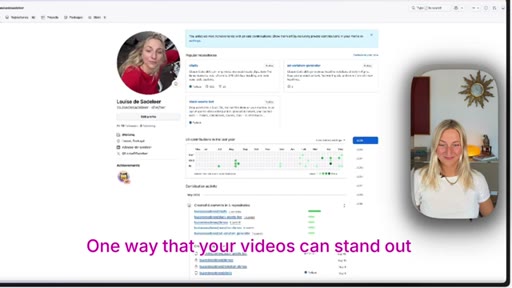
Agentic editing is already real. Social proof: viral Twitter post, 20K views on Remotion video, credits Renee Shaw. Overview of what this video covers.
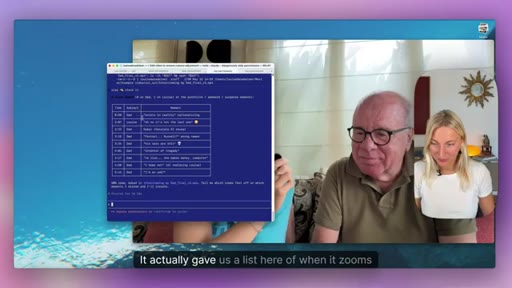
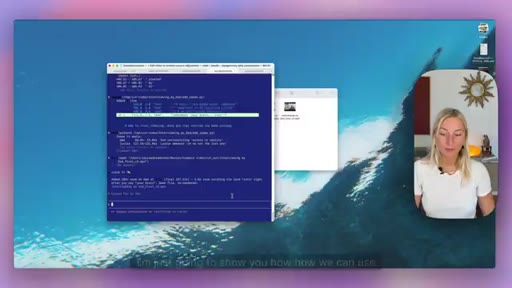
01:38 – 04:31

02 · Rough Cuts

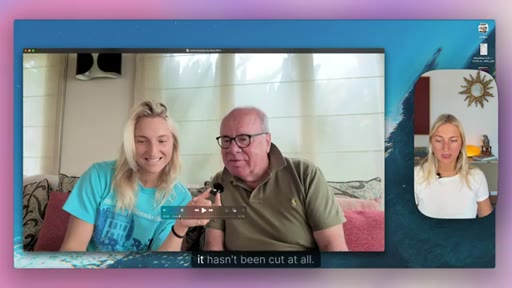
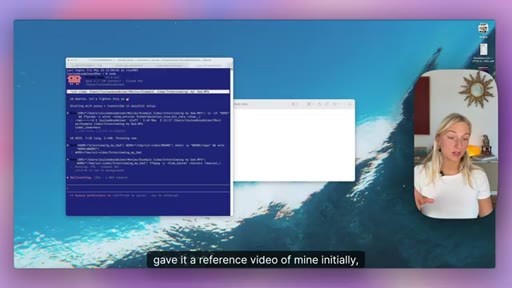
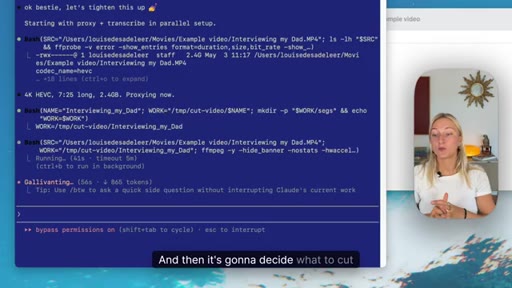
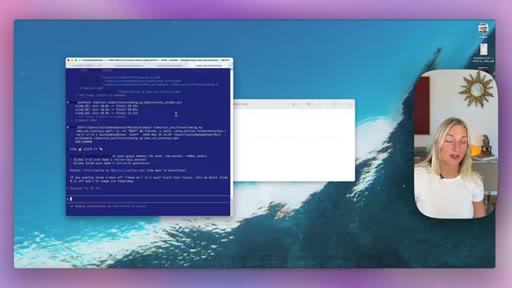
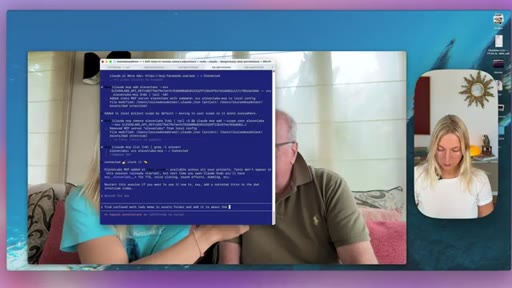
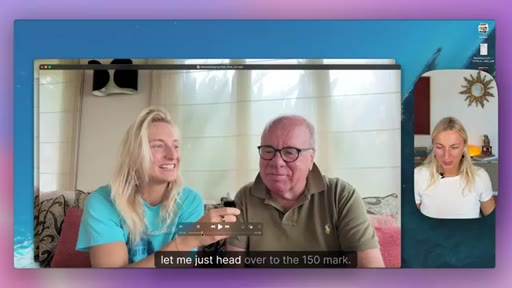
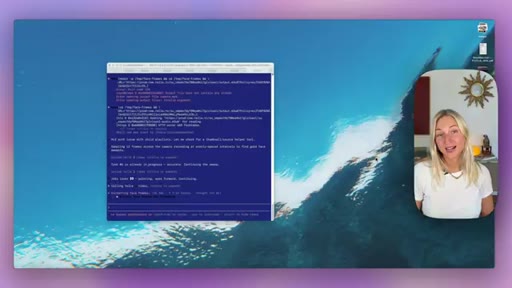
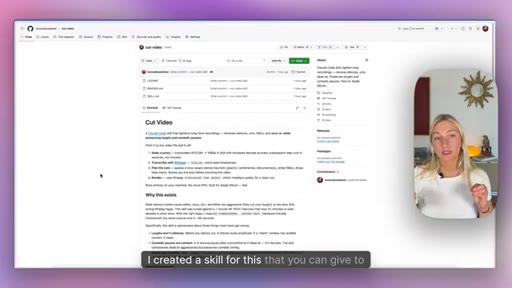
The cut-video Claude Code skill uses Whisper and FFmpeg. Train it on your own reference video for style-matched cuts. Demo removes 1.5 min from a 7.5-min interview.
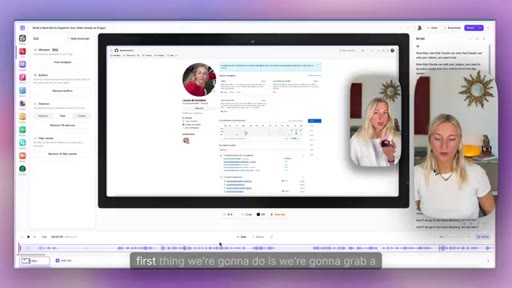
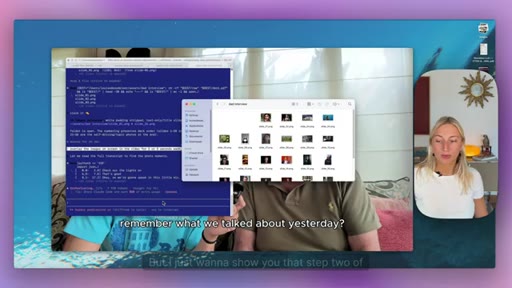
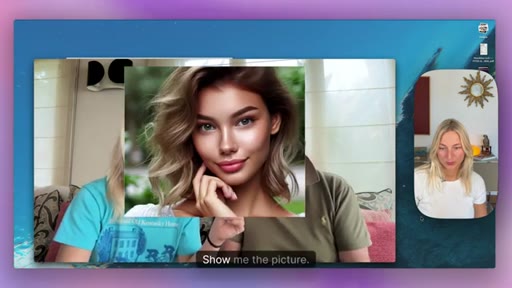
04:31 – 08:28

03 · Image Overlays

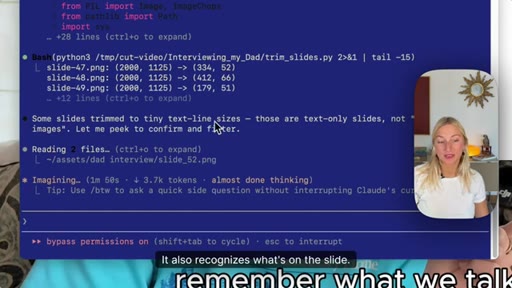
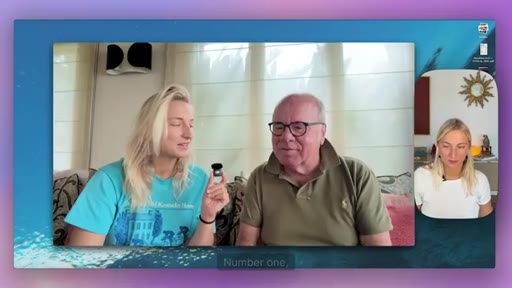
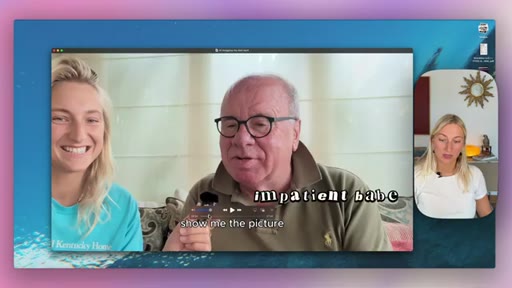
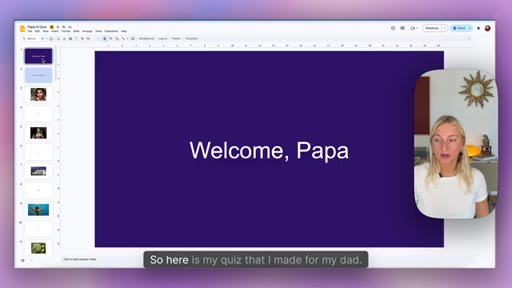
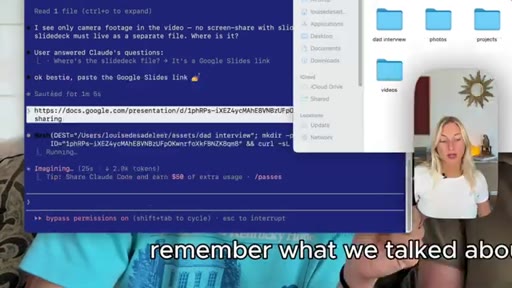
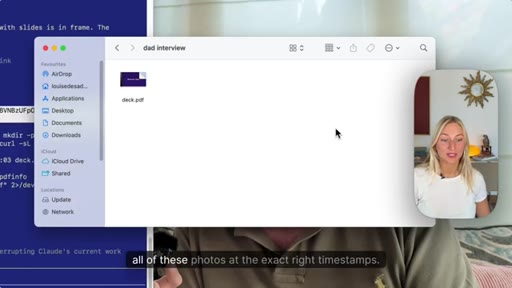
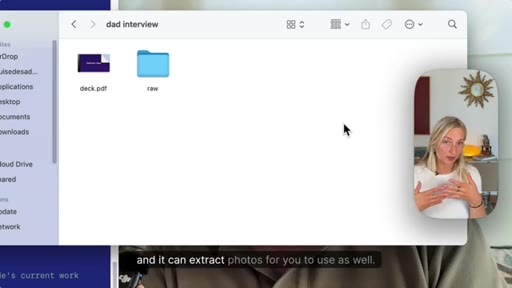
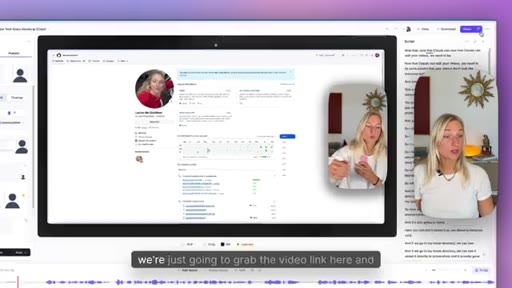
Give Claude a Google Slides PDF link. It extracts photos, crops padding, maps images to transcript timestamps. 20-photo overlay demo with minor manual correction for one misplaced image.
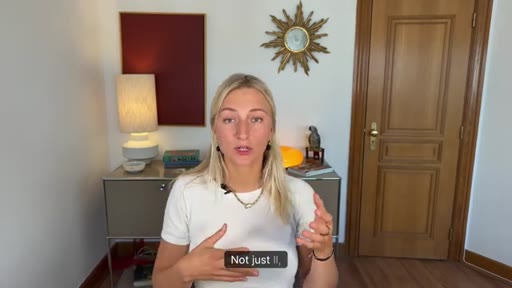
08:28 – 10:04

04 · Sound Effects

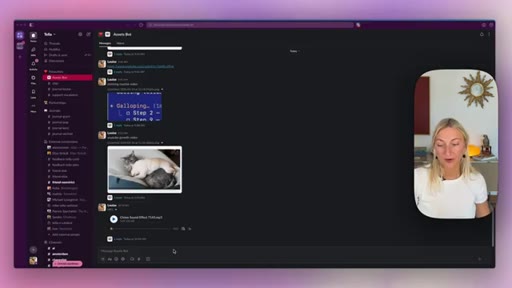
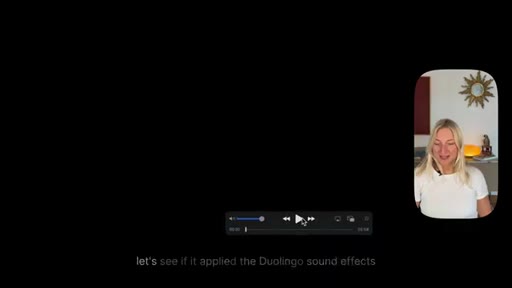
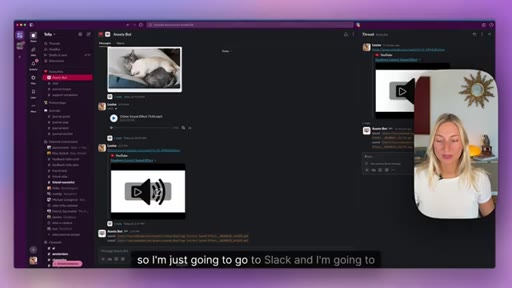
Slack bot saves a Duolingo sound effect URL to assets/sounds/ automatically. Claude adds correct and wrong sounds at the right moments based on transcript.
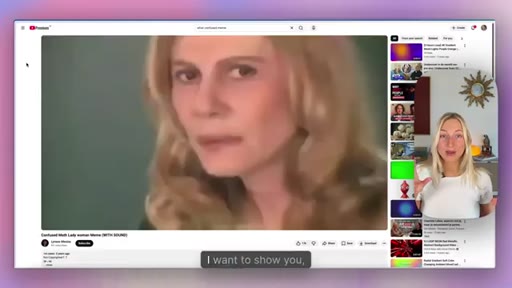
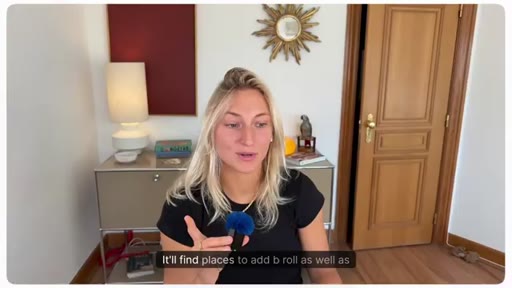
10:04 – 11:54

05 · Using Memes

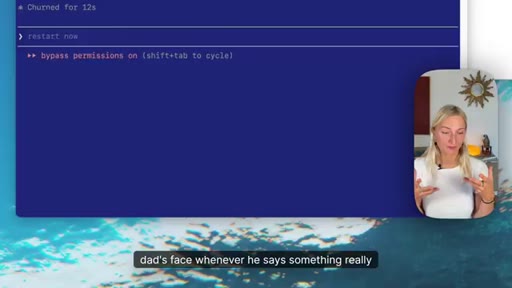
Same Slack bot workflow for meme videos. Claude places confused math lady at 1:46 instead of requested 1:50 by detecting peak confusion in transcript.

11:54 – 14:33

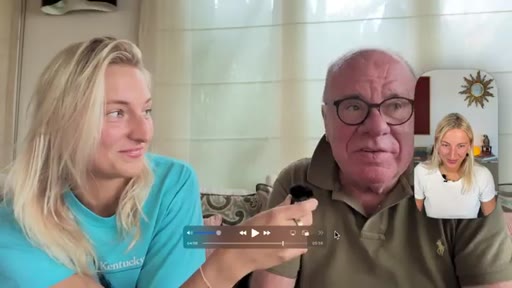
06 · Transitions and Zooms

Cinematic language works (Ken Burns, harsh zoom). Manual timestamp override shown. Specificity is the key lever. Reference videos help Claude learn your editing style.

14:33 – 16:12

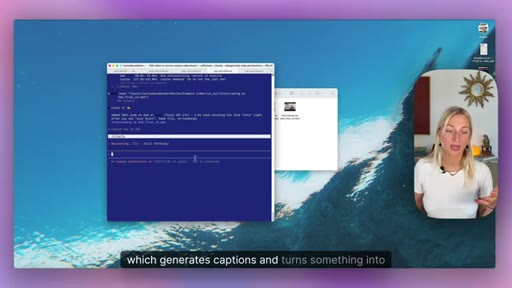
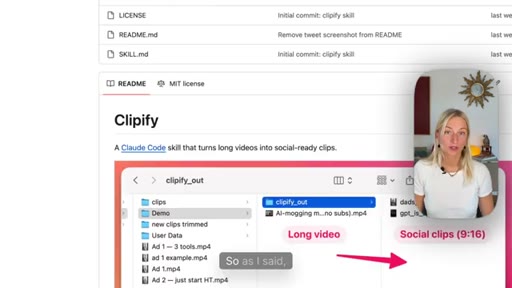
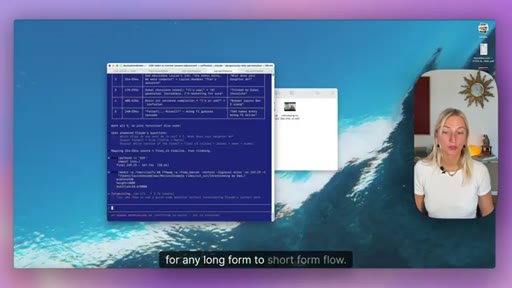
07 · Short Form Repurposing

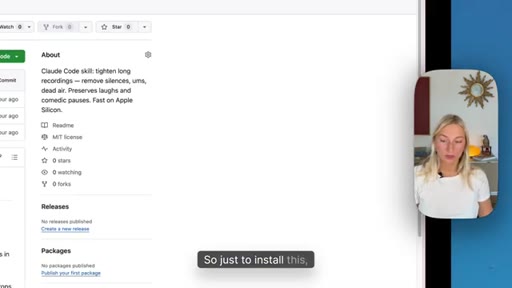
Clipify skill (300 GitHub stars). Picks funniest moments, outputs 9:16 with captions, speaker-zoom or split-screen mode. Free alternative to OpusClip.
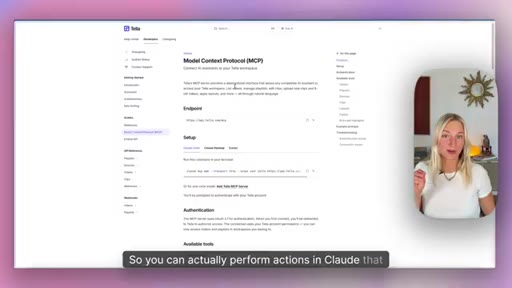
16:12 – 20:23

08 · Tella MCP

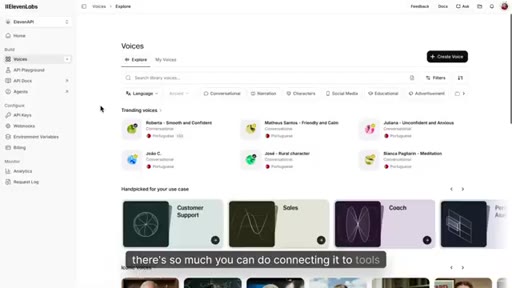
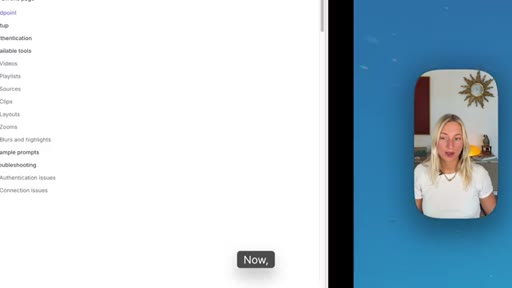
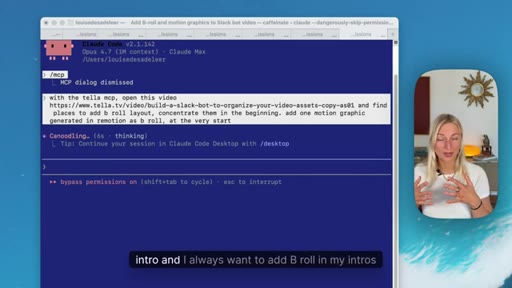
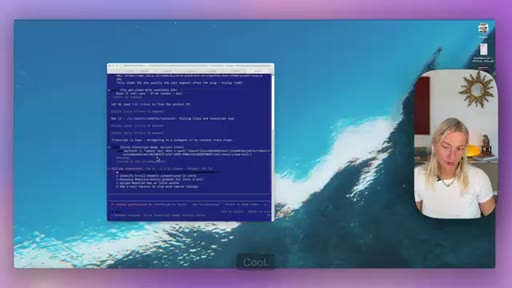
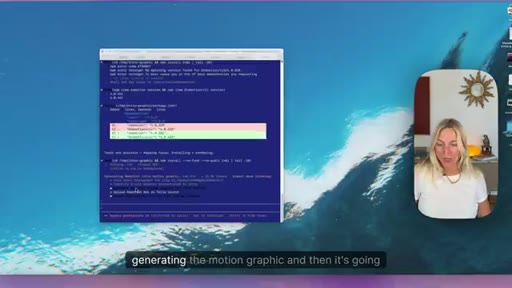
Tella's MCP exposes 50+ editor actions to Claude: AutoCut, b-roll layout, Remotion motion graphic generation, upload as MP4 b-roll. Requires separate Remotion setup.

20:23 – 21:00

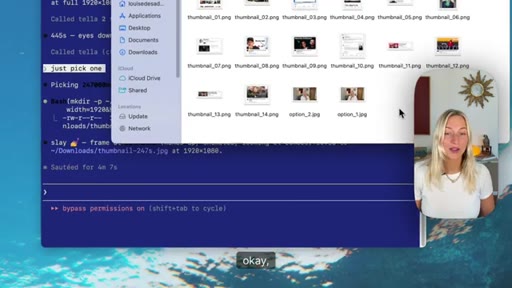
09 · Generating Thumbnails

Tella MCP get_video_thumbnail: Claude finds frames where eyes face forward for usable thumbnail candidates. Returns multiple options.

21:00 – 21:57

10 · Conclusion

Links to all skills in description. Honest admission of slowness and understanding issues. Subscribe CTA.

§ · Storyboard

Visual structure at a glance.

open
rough cut
overlays
sounds
memes
zooms
short-form
Tella MCP
CTA
§ · Frameworks

Named ideas worth stealing.

08:29 model

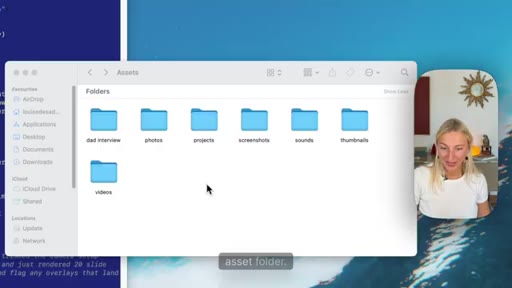
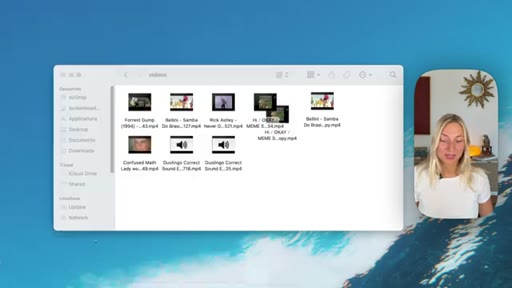
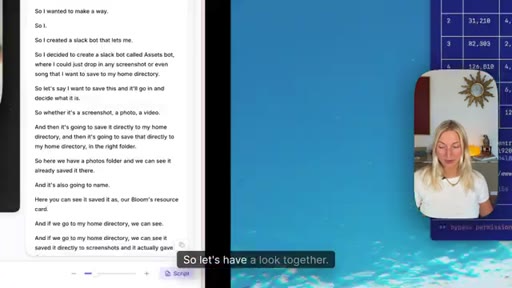
The Asset Library Workflow

  1. Build an assets folder with subfolders: photos, sounds, videos, memes, screenshots, thumbnails
  2. Use a Slack bot to auto-save and auto-categorize anything you drop in
  3. Reference the folder in every Claude editing prompt
  4. Claude saves things once; you reference them forever

The infrastructure play that makes every individual edit instant. Once the library exists, Claude never needs to ask where a file is.

Steal for Any content creator building repeatable AI editing workflows
01:38 list

5-Step Claude Editing Process

  1. Rough cut (silence and filler removal)
  2. Image overlays (from slides, screenshots, photos)
  3. Sound effects (from asset library, placed by transcript)
  4. Memes and video inserts (placed by transcript context)
  5. Zooms and transitions (cinematic language + specificity)

The sequential editing workflow for camera-recorded content before moving to the Tella MCP for screen recordings.

Steal for Tutorial-style or interview YouTube content
§ · Quotables

Lines you could clip.

03:21
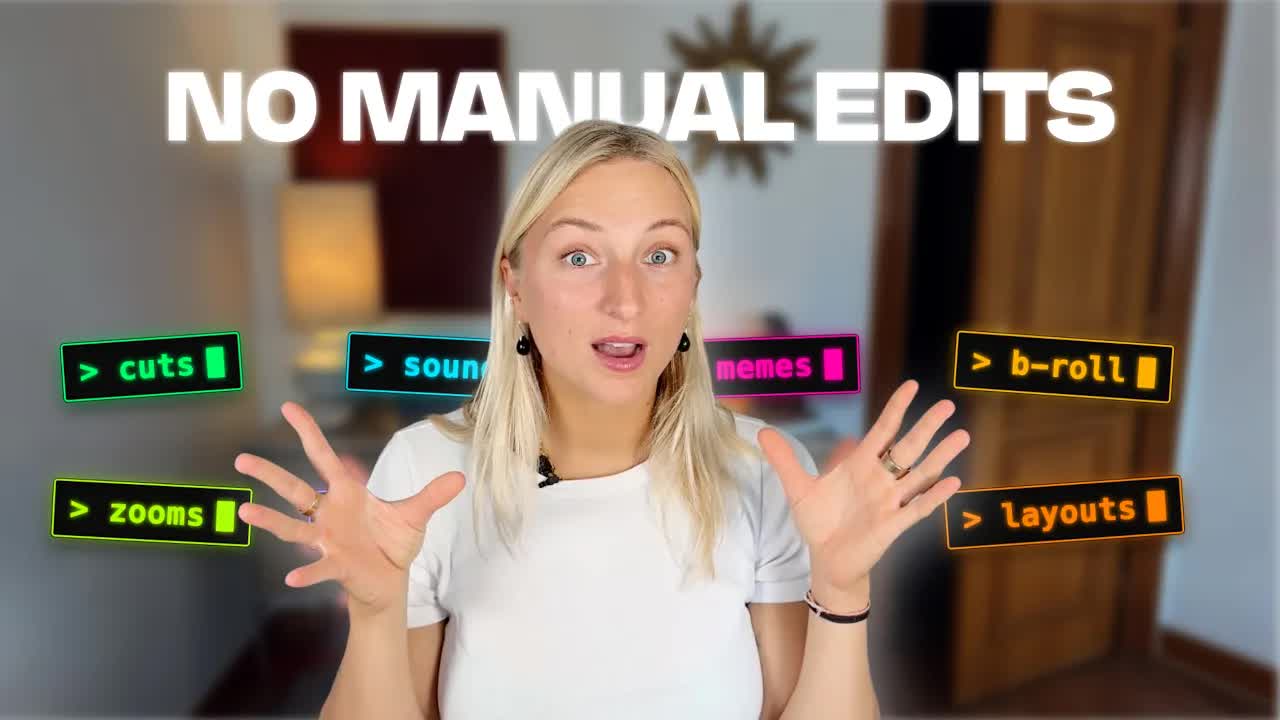
"This means you won't have to manually touch a video editor ever again."
Bold declarative claim, punchy, no setup needed → TikTok hook
11:01
"The best way to edit with Claude is to do a lot of the prep work — source all the screenshots or memes you want to use, and then it can just go into one folder and add those where it thinks it's right."
The key insight of the video in one sentence — the asset library idea → IG reel cold open
21:30
"It just becomes more of a conversation, which I've really liked."
Emotional payoff — transformation from tool-user to conversationalist → Newsletter pull-quote
00:58
"In this age of agentic editing, you can avoid all of your videos looking the same by making sure you use sounds that only you know, or memes that are really niche, or really specific references."
Counter-intuitive insight — agentic homogenization risk → TikTok hook
§ · Resources Mentioned

Things they pointed at.

17:23toolRemotion ↗
16:16toolTella MCP ↗
16:12toolElevenLabs
00:20channelRenee Shaw (YouTube channel)
§ · CTA Breakdown

How they asked for the click.

21:45 subscribe
"If you like this video, please be sure to subscribe. A lot of time goes into these videos, and I'd really love to have you around."

Genuine and brief; links to all skills mentioned in the description — functional CTA that delivers value after the ask.

§ 04 · The Script

Word for word.

HOOK opening / re-engagementCTA the pitch story
00:00HOOKSome people are predicting that the future of video editing is going to be agentic. What that means is that we, people, won't be editing our video, but AI tools like Claude will do everything from cutting out silences to adding transitions to adding cool zooms, b roll, etcetera. The thing is that future is already here.
00:16HOOKJust last week, I went viral on Twitter by sharing a clipping tool that turns long form content into short form content. I made that in an hour using Claude. My video on Remotion where you can use Claude to generate motion graphics and you no longer need motion graphic skills to add to your videos is now 20,000 views.
00:33HOOKAnd some of my favorite creators like Renee are already editing their YouTube videos using Claude. Renee is actually the one who put me on to using Claude for video editing. I've since personalized my workflow a little bit, but credits due where it's due.
00:46HOOKIn this video, I'm sharing my end to end workflow using Claude to edit my videos. I'll go over how it does things like cutting silences, ums and ahs. It'll find places to add b roll as well as generate said b roll either using tools like c dance or in our case, Remotion.
01:02HOOKWe're gonna create motion graphics. I'll show you how you can easily add photos, sounds, etcetera without going into your editor and actually finding the spots to add them. And I'll hint at how you can turn longer form content into social short form content.
01:15HOOKYou'll also learn how in this age of agentic editing, you can avoid all of your videos looking the same as other people's videos by making sure that you use sounds that only you know or memes that are really niche or or really specific references. Let's get into the workflow. Okay.
01:31HOOKStep one of my video editing process is making a rough cut, a big cut to remove any silences, repetitions, mistakes,
01:39filler words, etcetera. I created a skill for this that you can give to Claude or Codex, whatever you're using. It removes all silences, etcetera, and makes a cut while preserving laughter for comedic effect.
01:51So I'm gonna show you how to use this skill in Claude. We're just gonna open Claude, and then we're gonna go cut video. So just to install this, if you haven't done so already, just grab the the link to the skill and give it to Claude and say install this skill, and then you're gonna probably have to restart your terminal.
02:09So here we have cut video, and then what we need is obviously a source file or raw recording. This is a recording with my dad. It's seven and a half minutes long, and as you can see, it hasn't been cut at all.
02:22So I'm gonna give it that, and then we're gonna wait for the output. If you don't like this aggressive cut, I tend to cut all of the silences out and leave very little space just because I want my videos to be engaging to watch, then you can just prompt it and do this differently to match your editing style.
02:41Or what I did to create this skill is I actually gave it a reference video of mine initially, so it knows how I manually edit my videos. So that might be an idea for you to customize it to your editing style. Just so you know what's going on in the background, it's easier to edit.
02:55And then it uses tools like Whisper to analyze the transcript, as well as FFmpeg to look at the frames in the video, and then it's gonna decide what to cut out. Just as a time estimate, there's lucky days and unlucky days with Claude, but it takes a few minutes to make these cuts, especially if you're asking for a lot of cuts.
03:13So this is a seven minute video, and it is already running for three minutes. But again, this means you won't have to manually
03:21touch a video editor ever again, which I think is great. Especially if you build agents around this, you can just give your raw cuts and give it instructions on how to cut this, and it'll do it in the background while you do other work.
03:33Alright. It has outed a video, and it reduced it by a minute and a half. Let's watch some of this to see how well it did.
03:40Number one, we're gonna guess if a photo is AI or real? Yes. Yes.
03:43Show me the picture. It's a fake. It's AI.
03:45Very good. This is a picture. Yeah.
03:47It's real? It's a go. Okay.
03:48It's AI. Okay. Remember what you talked about yesterday?
03:51Cool. So I think it did a good job of cutting things out. I can see that in the beginning,
03:56I mean, I was speaking as I was getting the camera set up. So you could also tell it to get rid of that point. Just gonna tell it to cut out
04:04the so again, it looks at transcript. So it assumes that when you're speaking, you might wanna that in there. To be honest, depending on the style of the video, I would wanna keep it in there.
04:13So you see here, it's saying check out the lights. That's good. So it's gonna drop that part where I say checking the lights, and I think it picks up on that well.
04:21Let's check if it cut it out. Okay. So we're gonna speak in this little mic.
04:25Yeah. Great. So it cut it out just based on a prompt, which is kinda crazy.
04:29Now that's step one of our editing process. So you can see this is an interview with my dad, and you may have noticed that we're showing something on screen. So I wanna overlay whatever I'm showing him on screen.
04:41He's doing an AI guessing game, basically. So I'll show you what this looks like in the video already edited here.
04:48So I'm just gonna play that, and you can see that he's looking at these photos and guessing whether or not they're AI. I kinda wanna give Claude the slide deck where I have all of these photos just because I'm a little bit lazy. So here is my quiz that I made for my dad.
05:02I'm just gonna share this and make it accessible for everyone. And so I'm gonna tell Claude,
05:07extract all of the our images in this slide.
05:12So I'm saying that it should put it in my assets folder. I have an assets folder where I save things like screenshots or,
05:20yeah, funny photos that I wanna use in videos, as well as videos or sounds that I can give Claude while I'm editing. Funnily enough, I just created a Slack bot where I just drop any screenshot into, and then it saves it to that assets folder.
05:37So this way, whenever I'm working on a project and I see a fun screenshot or a stat or anything that I need for a video project, I save it to my finder, and then Claude can easily access that. I forgot to give it my Google Slide link, so I'm gonna do that now.
05:53Right. So here we can see that it created a folder called projects. I'm gonna move that to projects soon, but we'll see when we open this, we have some PDFs,
06:03and it's probably gonna extract the photos from that PDF and cut them. And then we'll see that we can magically overlay all of these photos at the exact right time stamps. Now this process is a bit longer than it would have been in the beginning because as I was editing this video manually, I was saving all of these photos to my computer.
06:21I just wanted to show you that you can literally give it any format, a PDF or anything else, and it can extract photos for you to use as well. So you can do this with logos, with anything you want.
06:31So here we have the raw, and it's outputted that. I wanted to get rid of the the white padding, so I'm gonna just ask it to do that.
06:40So we can see it also recognizes what's on the slide. So it obviously took all of the slides out of the PDF, but it sees that not every slide contains a photo.
06:49So hopefully, it's just gonna grab the photo once. Alright. Live.
06:53We're seeing that it's cropping all of these images. So that saved me a lot of time finding these images again. Great.
06:59And now we're gonna tell it to overlay the image for maybe a second or three, two to three, right before my dad needs to guess what the image is. But I just wanna show you that step two of overlaying images is very much possible with Claude editing without doing any manual work.
07:15We can see here that it's mapping the 20 photo moments, slides one to 20, to when my dad is doing the guessing. So let's take a look at these overlays. That's where the game starts.
07:27Number one, we're gonna guess if a photo is AI or real. Right. Yes.
07:31I will. Yes. Show me the picture.
07:33It's fake. It's AI.
07:36Good. This is a picture. Yeah.
07:38It's real? It's real. Okay.
07:40It's AI. Okay. Remember what we talked about yesterday?
07:42Okay. So here, it looked at the transcript and mistakenly added an overlay, but that's an easy fix. We just need to tell it to move that one.
07:50This is I think I I too, but it could be real because it existed. You can see here that it actually overlaid that one at the right moment.
07:59So it did well for the majority of these. I looked at the the video. And for any ones that are not aligned well or like come at the wrong moment, you could just say it should move that.
08:08But that should show you that you can add any image to a specific time stamp. So so even if you are going through your video like this, no longer in an editor, you say, hey, at minute one fifty six, I wanna add this image. And then you just refer to your assets library, and it's gonna add that image.
08:25So my third step in this case would be to add sound effect. So I'm just gonna show you how I'm gonna use the Duolingo correct sound to add to my video whenever my dad gets something correct, and then I'll do the wrong sound if he gets it incorrect.
08:39And I'm gonna show you exactly how I save a sound effect from YouTube. I give it to my Slackbot, and then it saves it to my sounds folder.
08:47So I'll only have to save this once in my life. My Slackbot recognizes what it is, so it's gonna say it's the Duolingo sound, and I'm then always gonna be able to refer to it. Alright.
08:56So I'm gonna go to my Slack bot, and I'm gonna copy paste the Duolingo sound effect link. And then it's gonna pick up on what this is. In this case, it's a sound effect.
09:06It's gonna automatically save it as we can see here. It's gonna save it directly to my sound effects asset folder. So here we have it.
09:14It's gonna open here, but that's fine. Now we're gonna tell Claude to add the Duolingo sound effects to whenever my dad is correct in the video.
09:25And then find it in my assets folder under sounds. Let's see if it applied the Duolingo sound effects whenever he gets something right.
09:35So let's play this first one. It's a fake. It's AI.
09:39Good. Very good. It's AI.
09:41Nice. So it applies the whenever he's right.
09:45Just always make sure to do a double, triple check, especially if he's doing a lot of them. Like, is or he Claude is basing himself off the transcript, and sometimes it's kinda hard to tell where to add it. But he did a good job of adding those sound effects.
10:00So that was step three. I showed you how to add sound effects. I wanna show you in a similar technique using my Slack bot how I can save a meme and then use that in my videos.
10:11So I'm just gonna go to Slack, and I'm gonna drop this link in there, and it's gonna download it as a video. And then that way, I have the confused math ladies meme in my assets folder forever. Let's head over to my assets folder.
10:25Again, you'll you're seeing this is turning into the holy grail. And here we can see it described as confused math lady.
10:33We can actually play that. I kinda wanna use this meme after my dad's confused about something. And and as it's older.
10:43And and to make my life a little bit easier, I'm gonna have some manual intervention where I wanna add it to a specific moment in the video. So let me just rewatch this and find the specific time stamp that I wanna add it. Okay.
10:56I think it'd be funny to add it at around the 01:50 mark. 01:50 mark.
11:02So let's see how it does, and it's gonna play that meme. Of course, you can also cut the meme. You can shorten it.
11:08Just tell it to shorten it or only include a small excerpt of a video. So here, it's gonna search for that meme in my assets folder, and it's gonna add it. The best way, in my opinion, to edit with Claude is to do a lot of the prep work where you source all of the screenshots or the memes that you wanna use, and then it can just go into one folder in your finder and add those where it thinks it's right.
11:30Let me just head over to the one fifty mark. Here we go. Was it?
11:41Yeah. So great job adding the meme at actually corrected one forty six instead of one fifty because it noticed that my dad was the most confused there. So you can see Claude's already doing good thinking here.
11:54Alright. Next part of editing might be to add fun transitions between clips, or I kinda wanna add zooms on my face or my dad's face whenever he says something really funny to one of the two speakers
12:09when ever something funny happens or awkwardness.
12:14So let's see how it does there. You could also give it cinematic terms like use a Ken Burns effect, which just zooms into something slowly. You could also say you wanna add a harsh zoom and just kind of play around with how you like to edit your videos.
12:30Again, if you have a lot of reference videos, maybe you found on YouTube, from other people's editing, or your own, then you can ask Claude to describe what those cuts are or what those effects are that are being used. Okay.
12:43Let's have a look at these zooms that it did or not. It did a few. Let's see towards the end here.
13:04Are you an Unc? No. I am.
13:05Okay. I think this did an okay job, but I think I I need to be a bit more specific with the the times I wanted to zoom in.
13:13He'd actually gave us a list here of when it zooms in. No. It's not the last one.
13:17Let's look at 03:15, and let's see if I agree with that. Very good.
13:23Do you know who it is? Don't worry. He
13:26was prepared. Yeah. So at this moment, that was actually a really good idea to zoom to my dad's face because he was arguing with me.
13:33So you can definitely look at your video and say, I would have added Zooms whenever my dad completes a sentence of mine. So I can say, add a Zoom to dad when
13:45rots. So that's my manual intervention there.
13:49You can actually see that it found the exact timestamp where it should add that zoom. So let's wait for the zoom. Okay.
13:56So he added that at 05:37. Let's watch that together. Because it's so addicting
14:04without learning anything. So your brain What?
14:07Very good. Important part here is to explain in as much detail as possible how you like your edits to be done and which transitions, etcetera, you'd like to use. Now before we move on to my demo of how I would edit screen recordings, specifically ones recorded in Intelli, I'm just gonna show you how we can use another skill that I've built to turn this long form video into a short form clip and actually add captions as well.
14:34So, yes, you can even add captions to this. So this completely gets rid of the need for a tool like Opus clip, which generates captions and turns something into a video.
14:44Here, it's pulling what he thinks are the funniest moments in terms of clips. I want the clip where he describes what I do, and we can select a few more if we want. But let's just do next.
14:55And then the format, I want it to be Reels format. And then and then we're gonna submit those answers. So as I said, you can get this specific Clipify clip that actually got 300
15:06stars on my GitHub. So you can get that repo there, and you can just set that up in Clon and use it for any long form to short form flow. So let's wait it to generate this, and I'll show you what the final result is.
15:19It's asking us if it wants the hard cut version, and let's do big you know what? I kinda want kinda want big bold
15:27captions. So it asks us about the format of the captions, and if you wanted our vertical video to have our faces in a split screen or if it should zoom in on me when I'm speaking, zoom in on my dad when he's speaking, and I prefer that version. Let's take a quick look at the vertical video portion of this video.
15:44Now I'd like you to describe as best you can what you think I do as a job. It's I can't describe it because I have no clue. Everybody asking me this.
15:54I don't know. He makes money to have a computer. That's accurate.
15:59That's all. You could see it clipped it here, and also you could tell it to do this on the raw recording instead of the already zoomed in version of this video. So, yeah.
16:10That was it for the non screen recording, editing your videos with Claude. There's so much you can do connecting it to tools like 11 labs as well, uh, to do narration,
16:19for example, or even connected to an AI generation video tool like Cdance to generate AI b roll. Alright. For this last portion, very quickly, I wanna show you how you can edit your screen recordings that you record in Tele using our MCP.
16:34So you can actually perform actions in Claude that are directly reflected in your Tele editor. So you're just gonna go to our docs page and find the MCP doc. And then if you haven't done so already, you're just gonna copy this and then through your terminal.
16:47Now I've already installed RMCP. So I'm just gonna open Claude, and I'm gonna show you where it is or the tools that exist.
16:55So you can obviously list your videos, etcetera. But we can also upload clips. So you can upload your own clips next to your screen recordings.
17:04You can sorry. You can cut clips. You can even get frames from your video that would be good for a thumbnail, for instance.
17:10So I just did that earlier today. You can remove filler words, etcetera. But I'm gonna show you how I'm gonna cut my video in Tala because it's super easy to do that there with AutoCut.
17:20And then I'm gonna add a b roll layout, which is super new, which is essentially layout where we add b roll. And the b roll I'm gonna add is gonna be generated in another tool called Remotion, and all of that's gonna happen in Claude.
17:33First thing we're gonna do is we're gonna grab a video. You can see here that it has no cuts applied to it. So I'm gonna remove all of these silences,
17:42remove the filler words, etcetera. I would maybe do a more clean-cut here. But here we can see that there are no gaps applied beside the base layout.
17:51So we're gonna ask Claude to go through and apply where it thinks it's would be right. We're just gonna grab the video link here, and we're gonna head over to Claude again. Layouts.
18:01Graphic generated in Remotion
18:05as b roll. I'm being I'm being purposely lazy and vague because I know what I talked about in this intro, and I always wanna add b roll in my intros to make them more exciting. So I'm gonna see if it can add b roll there to describe a process.
18:23This video was about how Bod is now editing video, and I just wanna show that with motion graphics. So let's see how well it does in our first go.
18:32I should add, if you haven't done so already, watch my video on how to generate motion graphics with Remotion because I go over the steps of installing Remotion into Claude, is super easy. But you do need to set that up before you can actually generate motion graphics in this way.
18:48So Claude will just remember Remotion as a skill, and then it can actually use it to do such things and generate b roll. So be sure to watch that first. Cool.
18:57We can see the steps here. So it's looking at the uncut transcript, and it's checking for b roll moments.
19:02It's gonna generate the motion graphic. It's gonna upload that motion graphic as m before in Totella, and then it's gonna add b roll layouts with said m p four.
19:13So it's asking me yeah. It's giving me three suggestions, and I like the idea of messy files flying in and then going into organized folders, and then I'm gonna go with fast and submit those answers.
19:25Getting the motion graphic, and then it's gonna upload it as an m before to the b roll segment, which is new, and you should try.
19:34Alright. Supposedly, it has generated these layouts, so let's have a look together. We're just gonna have to always refresh our page whenever we add changes.
19:43So here we can already see it applied our new b roll layout. So let's play this together. First impressions.
19:54So fun. Okay. So generated that in Remotion,
19:57and then it added that as I was describing this. So this was about my Slack bot and how basically I created this assets folder. I think this is a really cool way of just being able to edit your screen recordings that you make.
20:08This was just a small example of things you can do in our MCP. It's still work in progress, but I'm gonna be playing around with it over the coming weeks, and I'd love some of you to play around with it as well. I'm gonna show you second thing that the MCP can do.
20:23So we're just gonna say, find frames in this video of my full face that I could use
20:31as a YouTube thumbnail. Let's see.
20:34It can actually get frames as well from Tella directly. So I'm just gonna see if it can find that from the camera source file, and then it's gonna save that to our
20:45it's selecting for wherever my eyes are pointing forward because I know I don't always do that when I'm filming, and I expect it to return some frames that I can use. It says it found the winner killer shot, which I'm animated.
20:58My mouth is open, so let's see what it comes up with. Okay. In all fairness, I did interrupt Claude because it was taking too long, but look at these thumbnails that it found.
21:06Using Tella's MCP now lets you edit your videos using Claude. And what this opens up is that you can integrate many more tools into your editing process, not just Tella, not just CapCut, not just one tool by having it all be in AI model.
21:20I hope you liked this introduction to how I edit my videos with Claude. There's a long way to go. As you saw, sometimes we run into some slowness issues, some understanding issues.
21:29CTAAs you start to edit your videos with Claude, you're gonna become much better at defining technically how it is you like to edit. So it removes all manual work, which we all hate, and it just becomes more of a conversation, which I've really liked. I'm gonna link all of the skills that I used below
21:45CTAso you can add them to your own Claude and play around with. And then if you like this video, please be sure to subscribe. A lot of time goes into these videos, and I'd really love to have you around.
21:55CTAI'll see you for the next video.
— full transcript
§ 05 · For Joe

Seven steps to let Claude edit your videos.

WHAT TO LEARN

The mechanical parts of video editing — cuts, overlays, sound cues, captions — can already be delegated to Claude if you build the right infrastructure first.

  • A personal asset library with subfolders for sounds, memes, photos, and screenshots is the prerequisite — without it, Claude has nowhere to pull from during an edit.
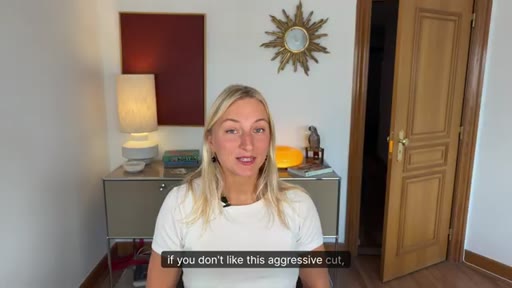
  • Silence and filler removal via a Claude Code skill trained on your own reference video produces cuts that match your style, not a generic aggressive default.
  • Claude reads the transcript to decide where to place images, sound effects, and memes — feeding it a transcript is more reliable than specifying timestamps manually.
  • When Claude places something at the wrong moment, a single correction prompt fixes it; the workflow is iterative, not one-shot.
  • Short-form repurposing (clip selection, 9:16 format, captions, speaker zoom) is already automatable with open-source skills at no subscription cost.
  • Cinematic language works: telling Claude to use a Ken Burns effect or a harsh zoom is sufficient — no technical FFmpeg knowledge required from the user.
  • The agentic homogenization risk is real — when everyone uses the same AI editor, the differentiator is your personal library of niche references only you have.
  • An MCP server that exposes editor actions to Claude turns a GUI tool into a set of callable functions, which is the logical endpoint of this workflow.
§ 06 · Frame Gallery

Visual moments.