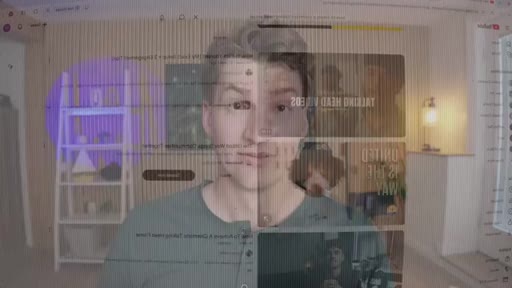
The bait, then the rug-pull.
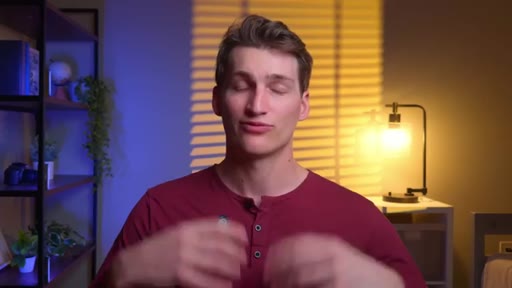
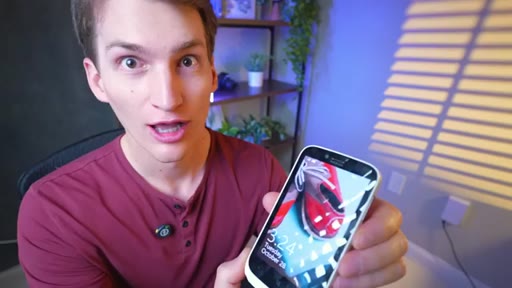
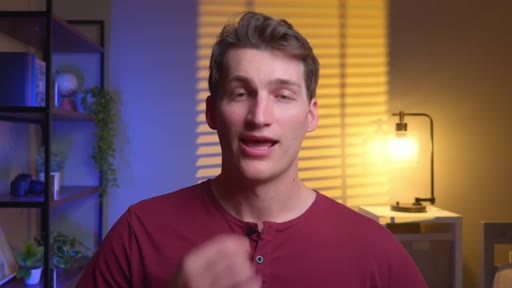
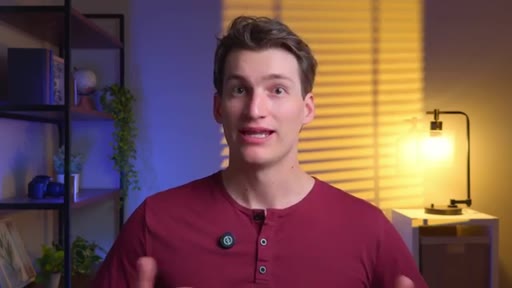
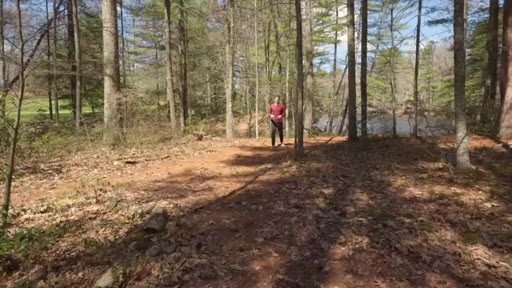
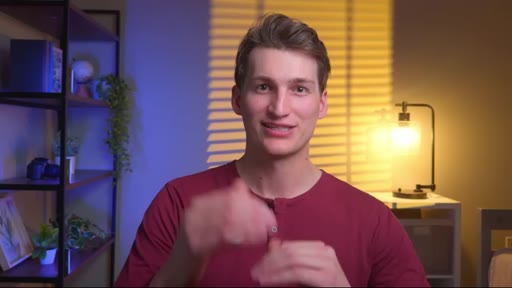
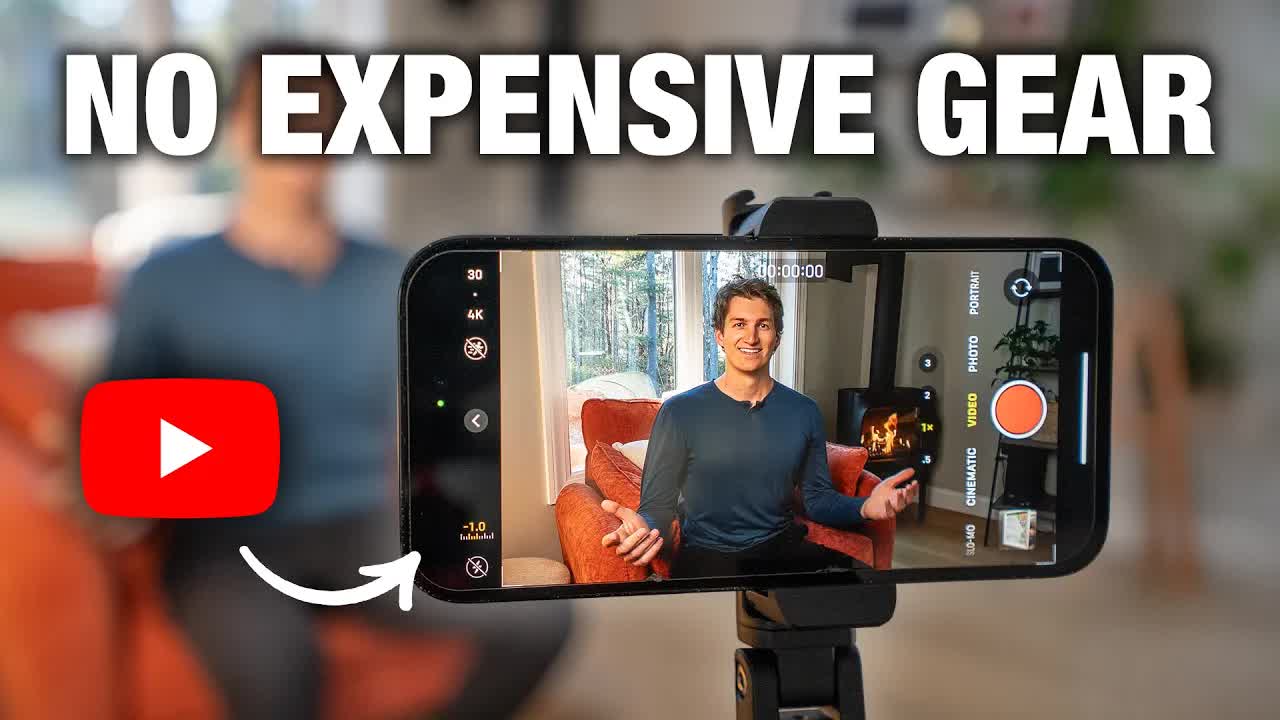
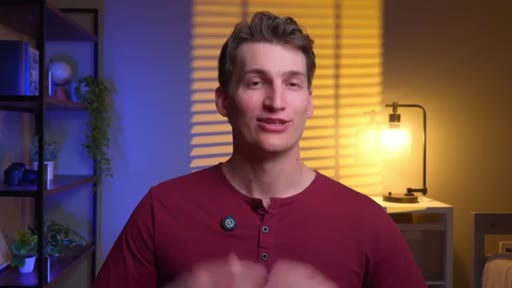
Connor Smith opens by dismantling the gear excuse in fifteen seconds flat. The proof is the video itself — shot on an iPhone 15 — and he immediately holds up an iPhone 14, Galaxy S24 Ultra, and a twelve-year-old iPhone 6 to prove the method transfers to any phone in any pocket.
What the video promised.
stated at 00:34 "There are four fundamental components to film a YouTube video on your smartphone. And by the end of this video, you'll be a master at every single one." delivered at 19:43
Where the time goes.
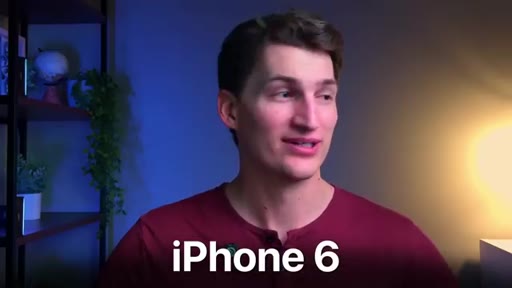
01 · Hook + phone comparison
Stated premise: any phone works. Holds up iPhone 15/14/Galaxy S24 Ultra/iPhone 6. Promises four components.
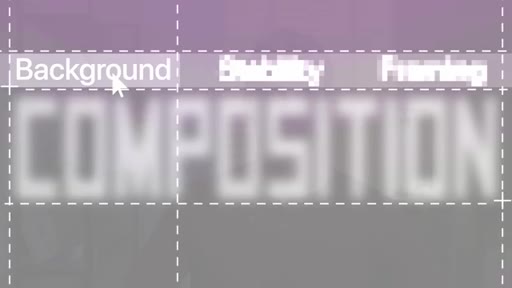
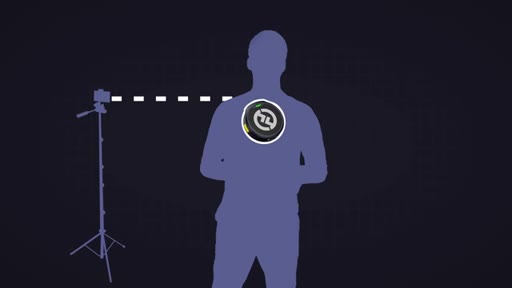
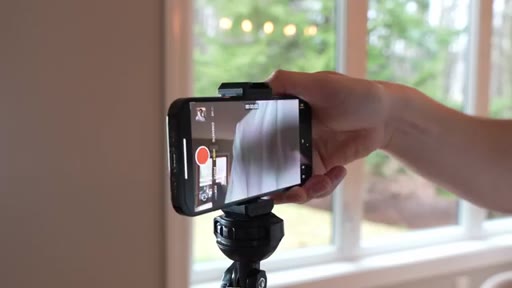
02 · Component 1 — Composition
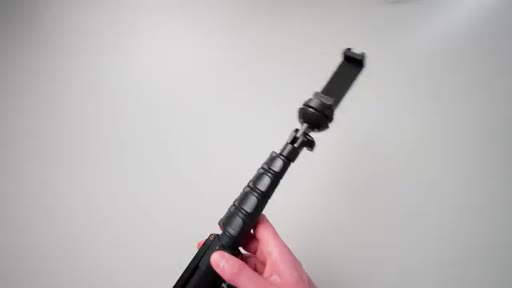
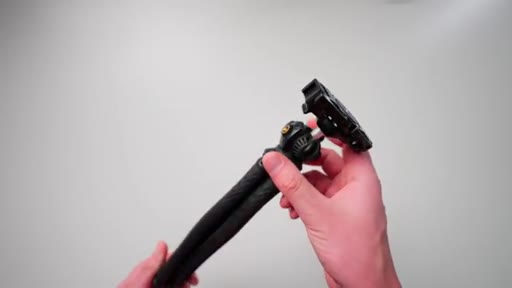
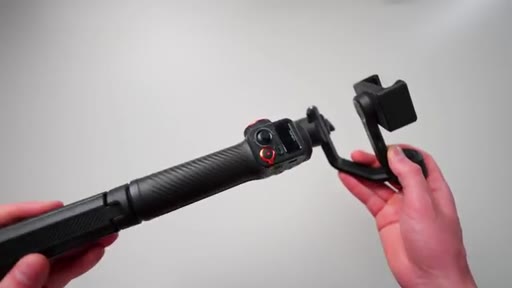
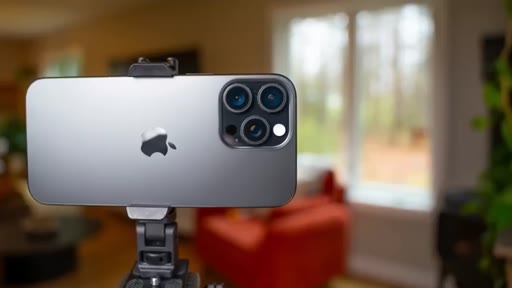
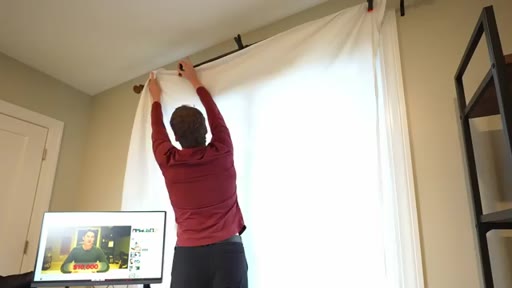
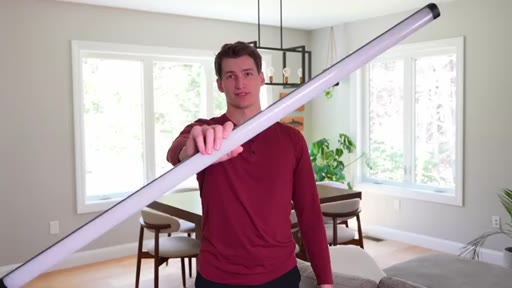
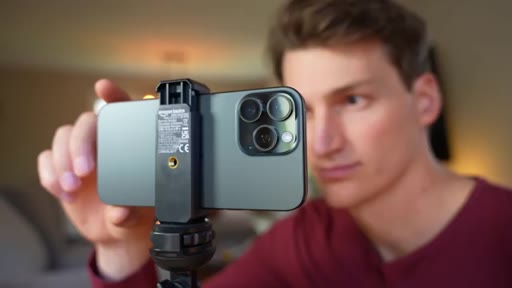
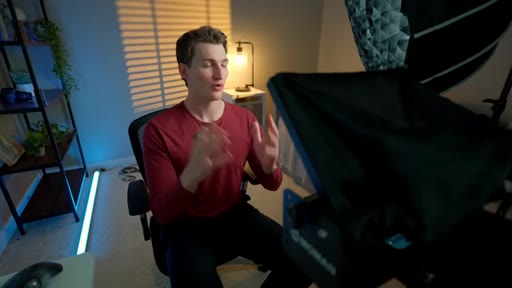
Three elements: simple background, stability (tripod/flex/gimbal), framing (rule of thirds, grid overlay).
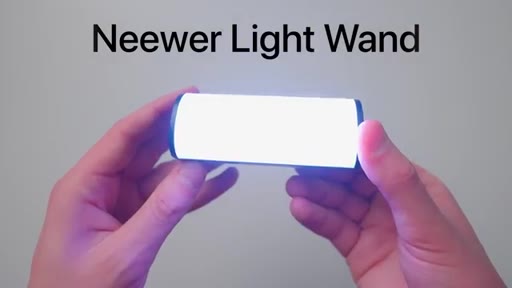
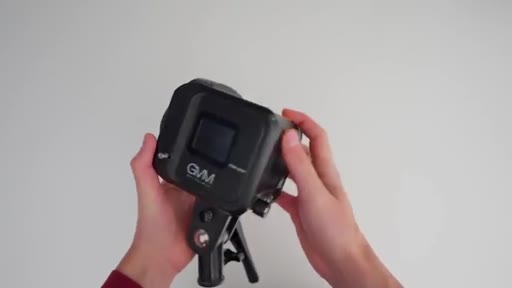
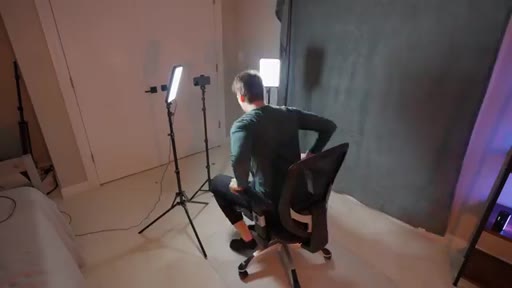
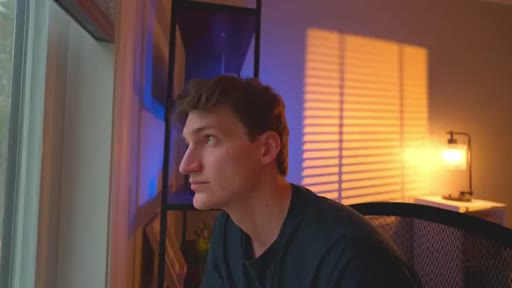
03 · Component 2 — Lighting
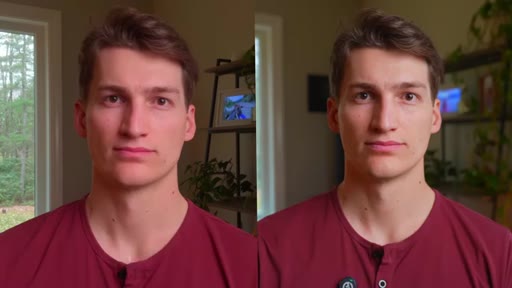
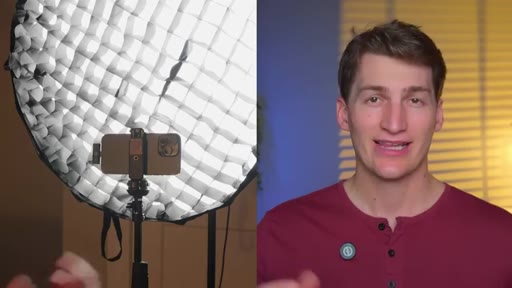
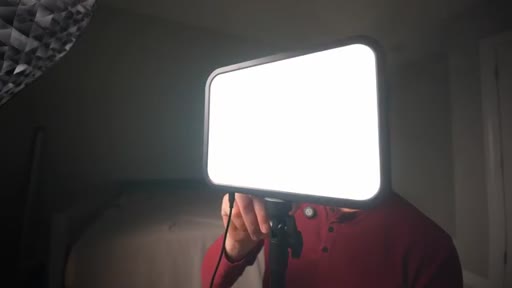
Four boxes: get light on face; diffuse it; 45-degree angle; optional accent. Key demo: $5K Sony in bad light vs 2012 Nokia in good light.
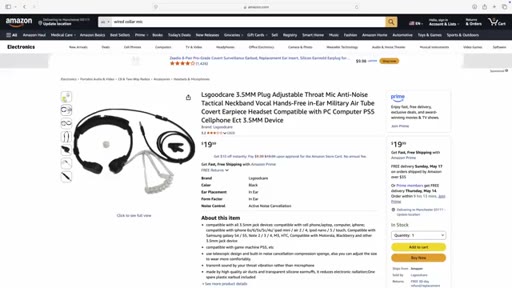
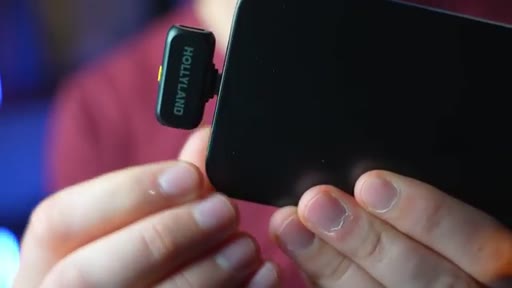
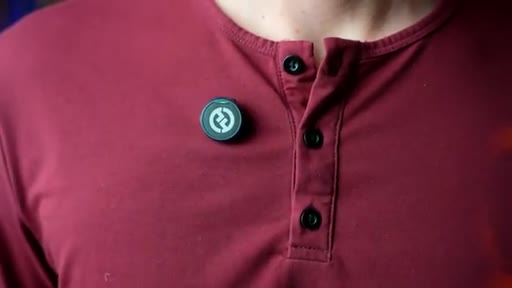
04 · Component 3 — Audio
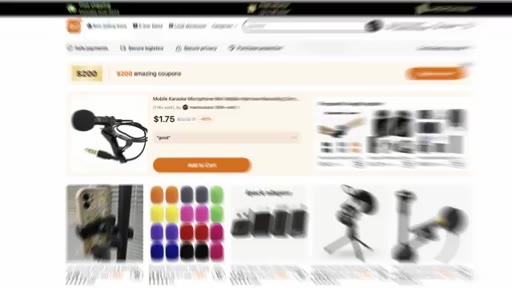
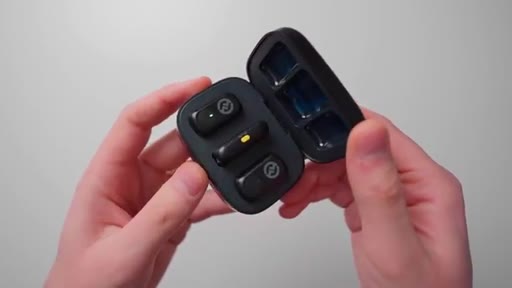
Wireless mics only. Hollyland Lark A1 vs M2. Avoid cheap wired Amazon mics. Giveaway mid-roll.
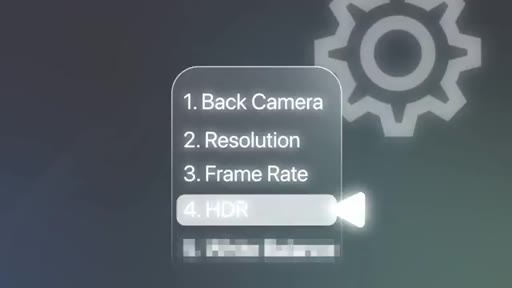
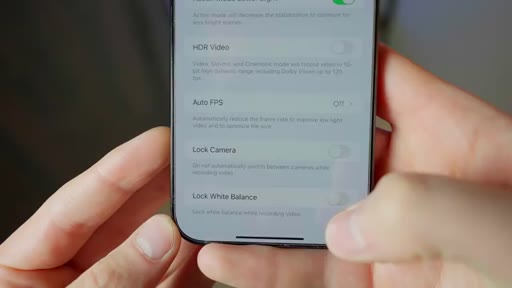
05 · Component 4 — Camera Settings
Rear camera. 4K. A-roll 24/30fps. B-roll 60fps. HDR off. Lock white balance indoors. Teleprompter bonus.
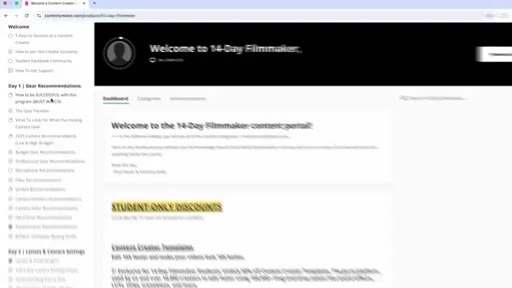
06 · CTA — 14-Day Filmmaker
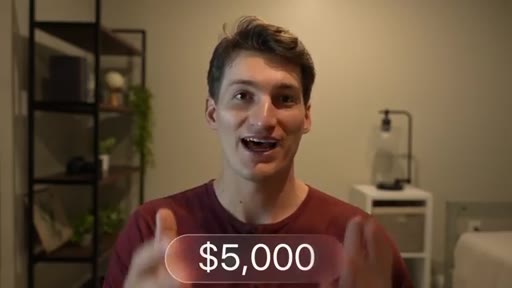
$48 one-time. 150+ tutorials. Lifetime access. Weekly live Q&A.
Visual structure at a glance.
Named ideas worth stealing.
4 Components of Smartphone YouTube
- Composition
- Lighting
- Audio
- Camera Settings
The spine of the entire video — each component gets its own motion-graphic section card and internal checklist.
3 Elements of Composition
- Background
- Stability
- Framing
Background: simple beats cool; distance from wall adds blur. Stability: tripod/flex tripod/gimbal. Framing: rule of thirds with phone grid overlay.
4 Lighting Boxes
- Get light on your face
- Diffuse it
- Position at 45 degrees
- Accent lighting (optional)
Box-check structure makes abstract lighting advice concrete and actionable.
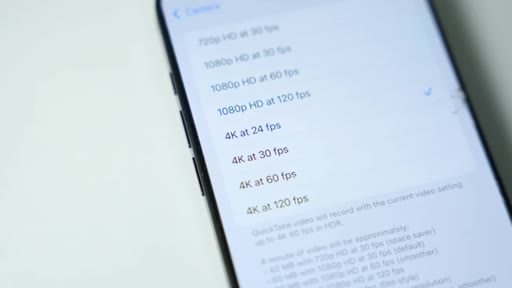
A-roll vs B-roll Frame Rates
- A-roll (talking head): 24fps or 30fps
- B-roll (general): 60fps
- B-roll (slo-mo): 120fps or 240fps
Simple two-group mental model that demystifies frame rate decisions.
Camera Settings Checklist
- Use rear camera
- Film in 4K
- Set correct frame rate
- Turn HDR off (iPhone)
- Lock white balance indoors
Five settings in order covering the most common beginner mistakes.
Lines you could clip.
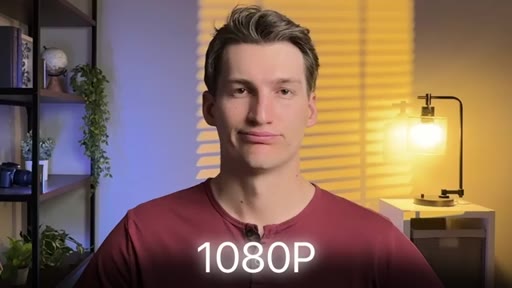
"You don't need an expensive camera to make a YouTube video anymore."
"Lighting is hands down the most important factor that will have a massive impact on how your video looks."
"I'm using a $5,000 Sony a7S III, but the lighting is terrible. Now compare that to this. I'm using a 2012 Nokia smartphone, but I'm using professional lighting."
"Having great audio is so important. This secretly makes up half of the viewing experience."
How they spent the runtime.
Things they pointed at.
How they asked for the click.
"You get access to all of this for a small one-time fee of $48."
Brief, low-pressure, well-earned after 20 min of genuine value. No countdown, no scarcity — just a clean offer and a subscribe ask as backup.
Word for word.
Steal the four-component spine.
Any beginner tutorial can be built as four numbered components — the structure sells the completeness before the content earns it.
- Name your four components in the hook. Promise mastery. The list creates an implicit contract that keeps viewers watching.
- Lead each section with the most surprising proof, not the definition. Connor leads Lighting with the Nokia-beats-Sony demo, not with 'lighting is important.'
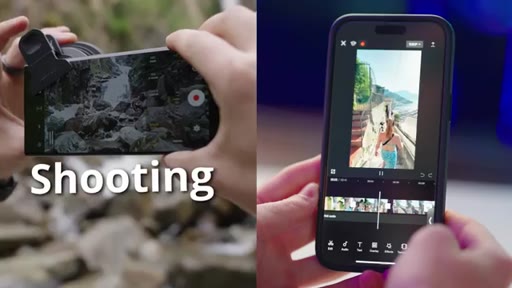
- Split-screen before/after is the fastest trust-builder in production tutorials — two frames, no voiceover needed.
- The mid-roll giveaway is a low-cost lead-gen play: require email entry, auto-deliver a freebie, now you have a list regardless of who wins.
- The $48 one-time course is the 'own your tools' positioning worth stealing — no subscription, lifetime access, single low-friction price.
Your phone is enough. Here is the actual order of operations.
Gear is the last variable that matters — fix your lighting first, your audio second, and only then think about camera settings.
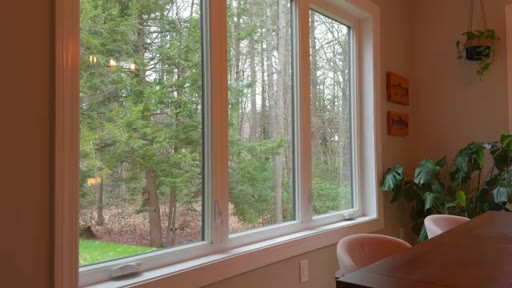
- Start with a simple background. Put distance between yourself and the wall to add natural background blur.
- Find a window and face it. A white curtain over the window gives you free professional-quality diffused light.
- A $50-100 wireless clip mic (Hollyland Lark A1 or M2) plugged directly into your phone eliminates the single biggest viewer complaint.
- Film with the rear camera in 4K at 24fps. Turn HDR off. Lock white balance if you are indoors under artificial light.
- A selfie mirror attachment ($15) or an Apple Watch shows your framing without constantly stopping to check — no second person required.