Content Creators · Youtube · 20:41

$100 Cinematic YouTube Studio Setup (Full Guide)

A 20-minute tutorial that proves gear is the smallest variable — and shows you exactly how to build a professional-looking talking-head setup for under $100.

Posted
April 13th 2026
1 months ago
Duration
20:41
Format
Tutorial
educational
Channel
CC
Content Creators
§ 01 · The Hook

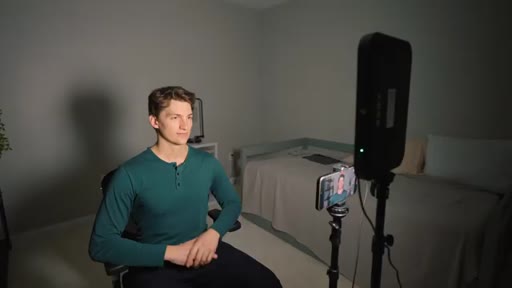
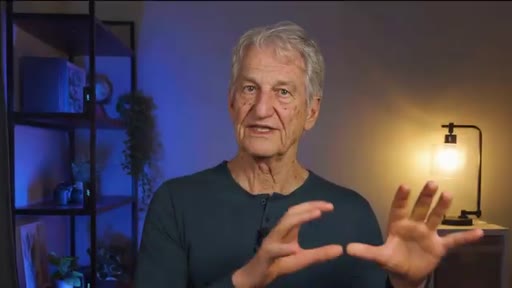
The bait, then the rug-pull.

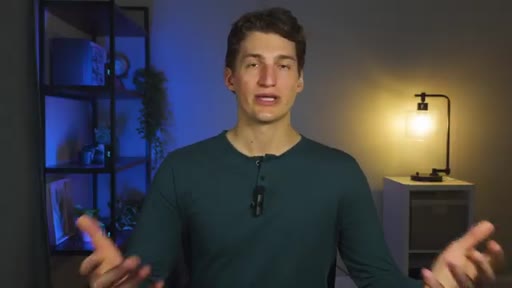
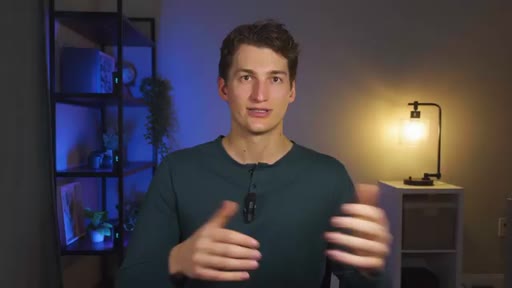
Hold up a single $100 bill to your smartphone camera, and you've already out-spent most of what separates an amateurish setup from a cinematic one. The gap isn't gear — it's the four fundamentals this video was built to teach.

§ · Chapters

Where the time goes.

00:00 – 01:40

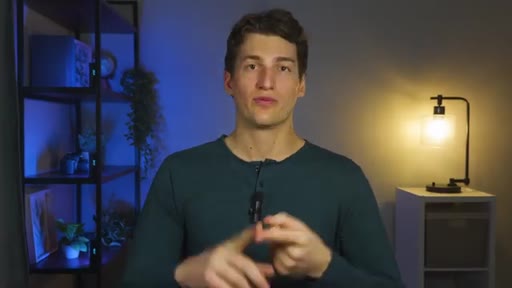
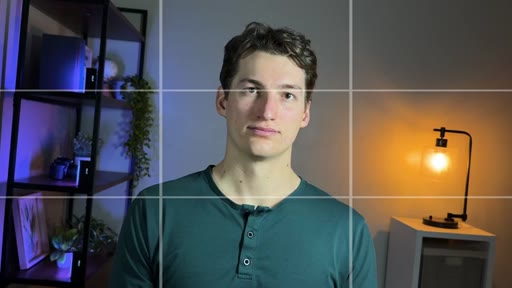
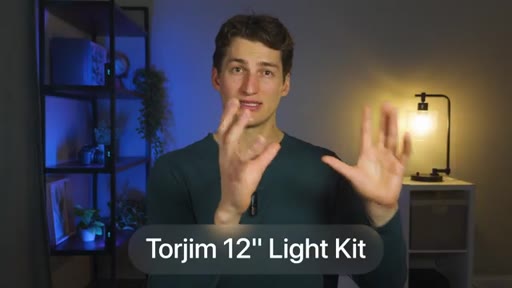
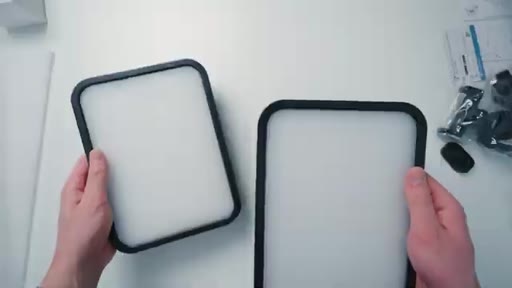
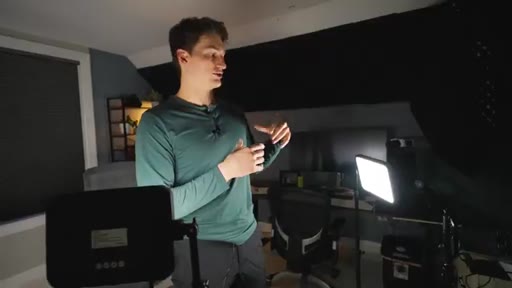
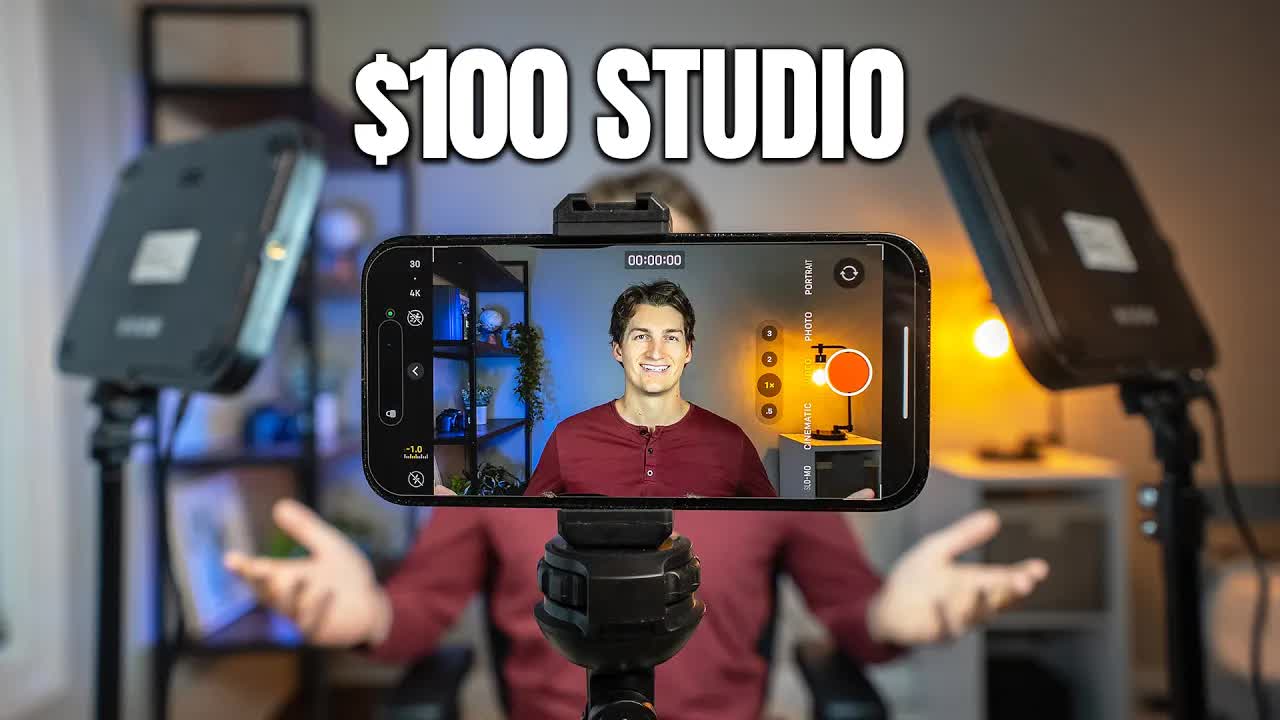
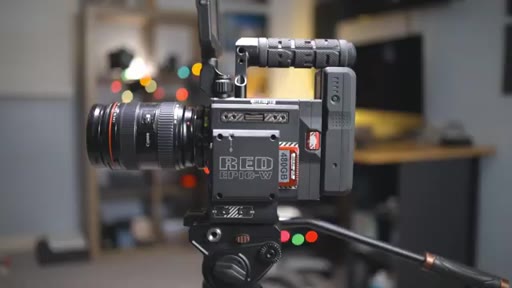
01 · Intro — $10K vs $100 contrast

Side-by-side comparison of expensive vs. budget setup, establishes the four pillars and giveaway

01:40 – 05:13

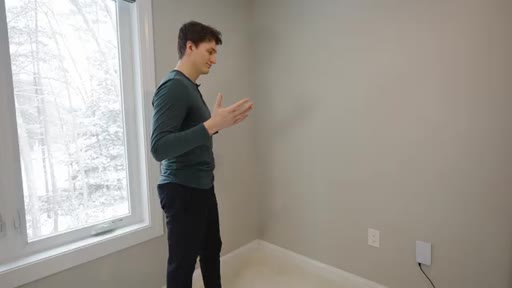
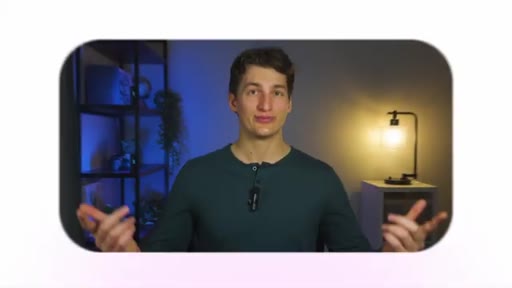
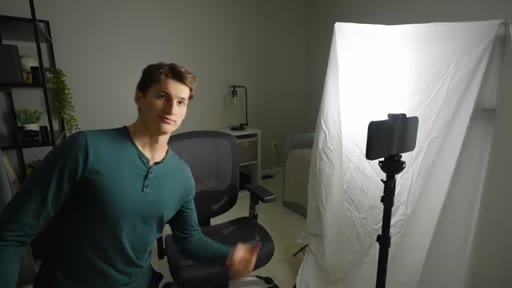
02 · Pillar 1: Composition

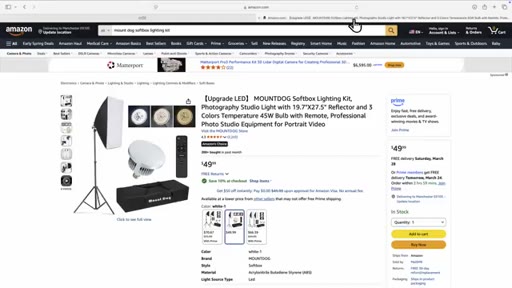
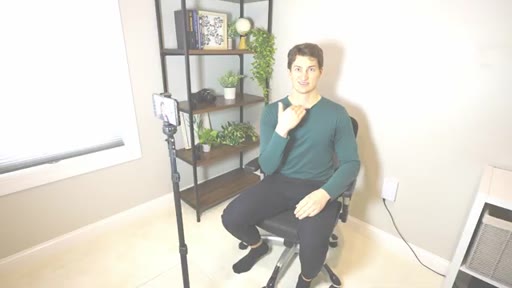
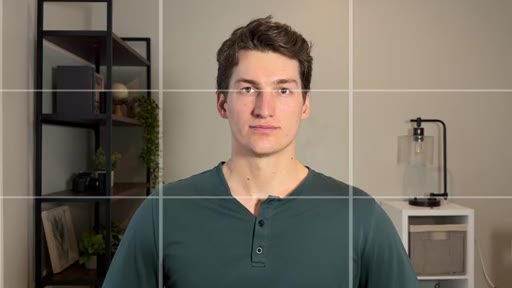
Background selection, 3-6 ft wall separation, $16 tripod, rule of thirds framing

05:13 – 10:40

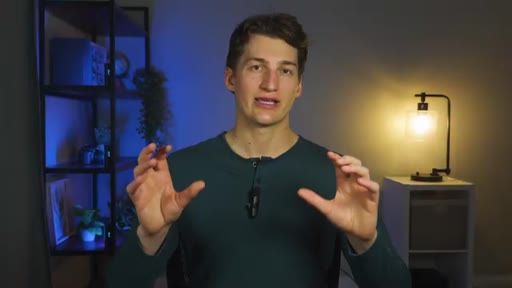
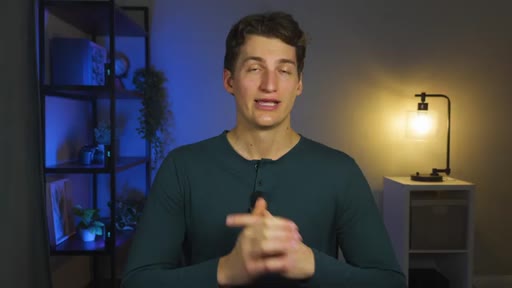
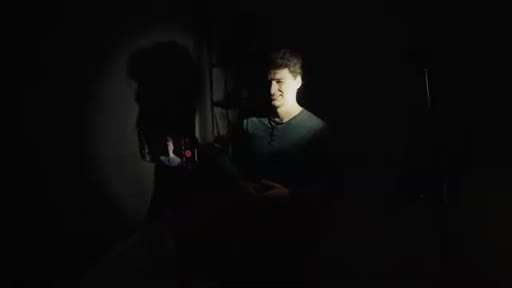
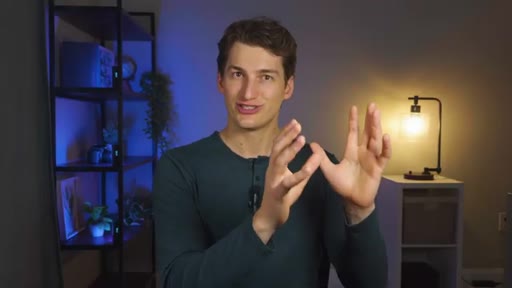
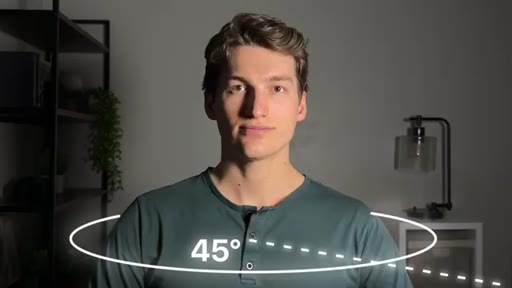
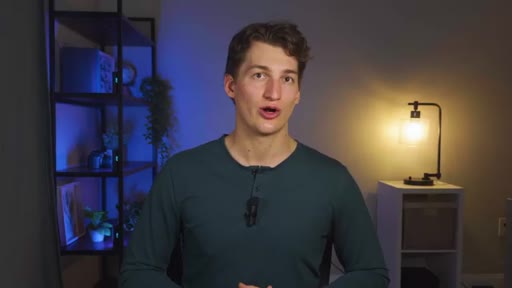
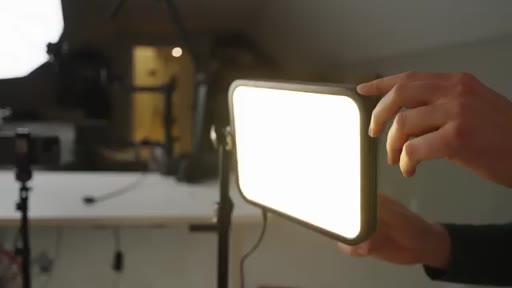
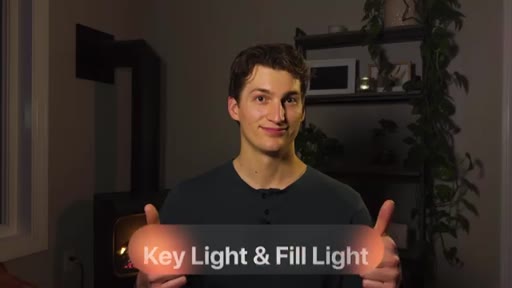
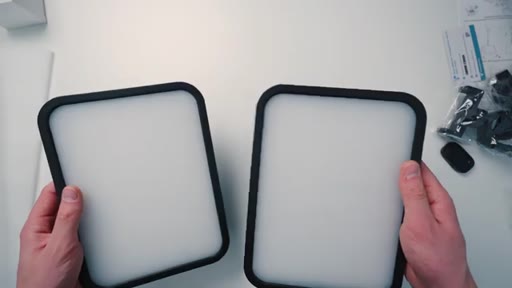
03 · Pillar 2: Lighting

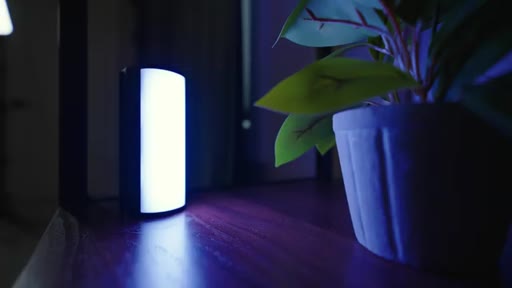
Environment control, light softness (size + diffusion), 45-degree key angle, fill vs hair light, accent Neewer wand, ring-light warning

10:40 – 12:58

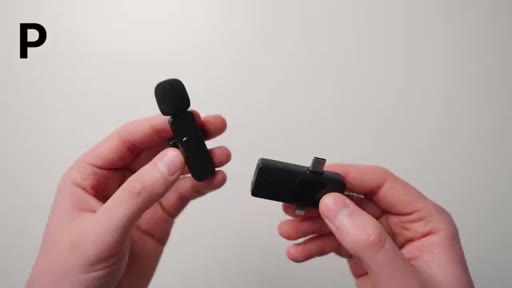
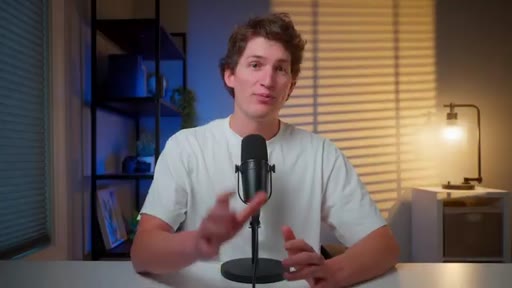
04 · Pillar 3: Audio

Three mic shootout — POPVoice Pro, PVCP wireless, Hollyland Lark M1 (winner with noise cancellation)

12:58 – 16:40

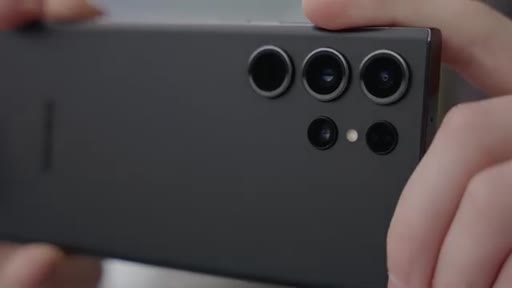
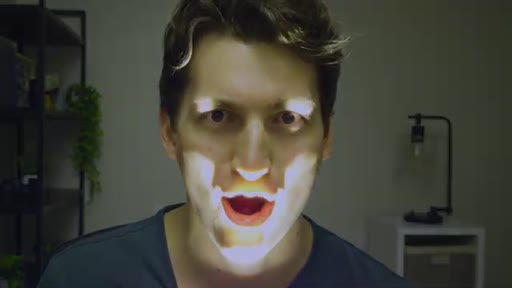
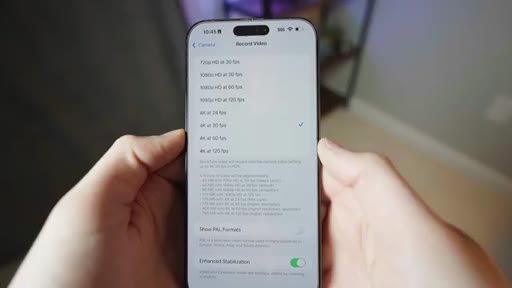
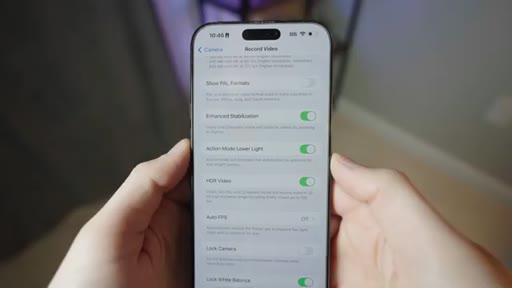
05 · Secret Pillar: Camera Settings

Rear camera, 4K, 24/30fps, HDR off, lock white balance — side-by-side wrong vs. right settings demo
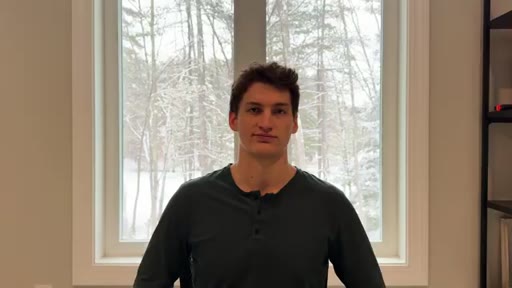
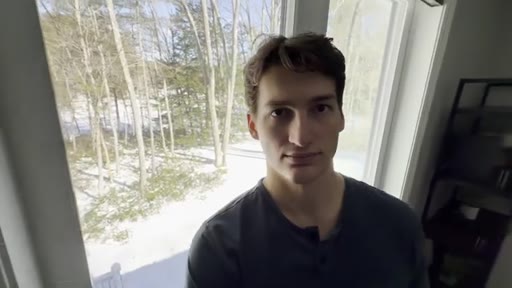
16:40 – 17:47

06 · Unique Setup 1

Same gear in a second background location, adjusted color temperature for cooler look

17:47 – 19:25

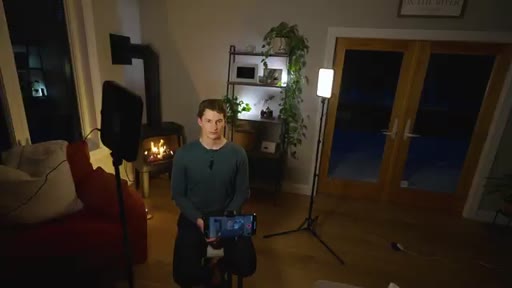
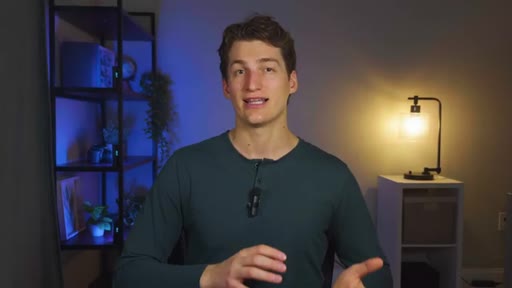
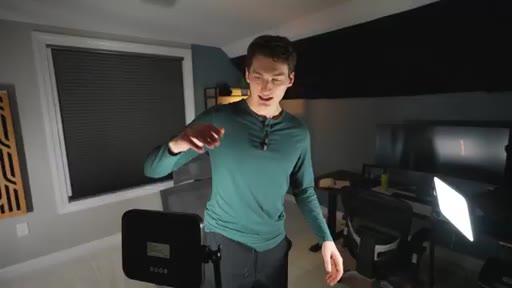
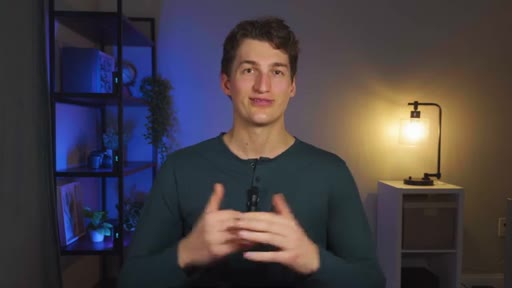
07 · Unique Setup 2 + Light Layer Demo

Living room with fireplace; demonstrates key, back, and accent lights individually then combined

19:25 – 20:41

08 · CTA — 14 Filmmaker Course

Course pitch ($48 one-time), giveaway entry instructions, subscribe ask

§ · Storyboard

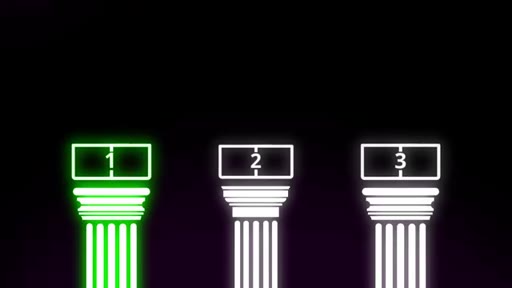
Visual structure at a glance.

$10K vs $100 open
$100 bill prop
4 key ingredients list
Torjim light kit
45-degree light diagram
Mic comparison
3 pillars graphic
Setup 1
Setup 2 fireplace
Course CTA
§ · Frameworks

Named ideas worth stealing.

01:26 list

Four Pillars of Cinematic Video

  1. Composition
  2. Lighting
  3. Audio
  4. Camera Settings

The four variables that determine whether a talking-head video looks professional, ordered roughly by impact. Gear is explicitly excluded from the list.

Steal for Any content creation checklist, video course outline, or YouTube setup guide
01:42 list

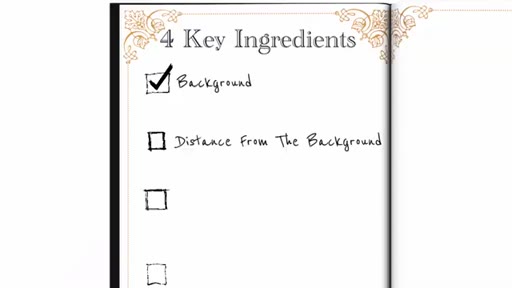
Four Ingredients of Composition

  1. Background
  2. Distance from background
  3. Camera stability
  4. Framing (rule of thirds)

A checklist for setting up a talking-head shot before touching lights or microphones.

Steal for Pre-shoot setup checklist
05:45 list

Four Steps of Lighting

  1. Control the environment (eliminate ambient)
  2. Make the light soft (size + diffusion)
  3. Adjust direction (45-degree angle)
  4. Add accent lighting (optional)

Sequential lighting setup process starting from zero ambient and building up deliberately.

Steal for Lighting tutorial structure
§ · Quotables

Lines you could clip.

05:17
"Good lighting with a smartphone will beat bad lighting with a $5,000 camera every single time."
Absolute, counterintuitive, no setup required → TikTok hook
10:43
"Most people will tolerate average looking videos, but almost no one will tolerate bad sound."
Standalone quote that reframes audio priority → IG reel cold open
18:49
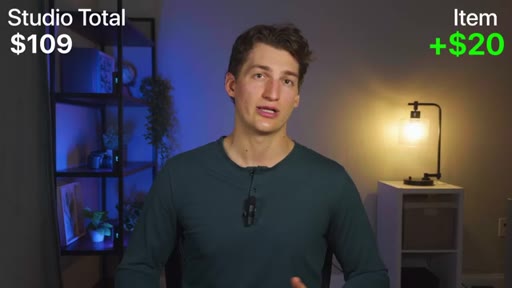
"Three completely different setups, all using the same exact gear that we got on Amazon for under $100."
Payoff line that proves the premise → End card or newsletter pull-quote
§ · Resources Mentioned

Things they pointed at.

03:50productAmazon Basics Extendable Tripod
05:45productTorjim 12-inch LED Light Kit
06:55productLight diffuser panel (~$13)
09:50productNeewer Light Wand (~$20)
10:05productMountDog Softbox Lighting Kit
11:40productPOPVoice Pro lavalier (<$10)
12:04productHollyland Lark M1 wireless mic
13:59productSelfie monitor (rear-camera framing aid)
§ · CTA Breakdown

How they asked for the click.

19:34 product
"That's exactly why we built a streamlined program called 14 Filmmaker. You get access to all of this for a small one time fee of $48."

Placed after the full tutorial value delivery; leads with the pain (hours jumping between YouTube creators), positions the course as the shortcut. Giveaway earlier in video (at ~15:51) functions as a separate email-capture CTA.

§ 04 · The Script

Word for word.

HOOK opening / re-engagementCTA the pitch analogy
00:00HOOKThis is a $10,000 YouTube studio, but I messed up one key fundamental. And this is a $100 studio where we nailed all three of the key fundamentals.
00:10HOOKToday, you're going to learn exactly how you can build ultracinematic talking head setups with just a $100 worth of gear even if you have a super small filming space. You'll learn the three key fundamentals,
00:22HOOKthe major mistakes that ruin most people's setups, and you'll see it all applied to three unique spaces. And make sure to stay until the end of this video because we're hosting a giveaway where some lucky viewers can win some awesome gear to help level up their videos. I'm Connor from contentcreator.com.
00:39HOOKLet's jump right into it.
00:44Now two quick things that we have to establish from the beginning. Number one, this video assumes that you already have an iPhone or an Android phone that you can use as your camera. But it definitely doesn't have to be the latest model.
00:55Legit, any iPhone or Android phone would work. This video was shot on the iPhone 15. And number two, this is not a gear shelling video.
01:04We're not sponsored by any of the companies that I'll mention in this video. I will have links to all of the gear in the description below. But if you click on those links, buy the gear, exit this video, and then skip the rest of what I'm about to teach you, your YouTube setup might not look that great.
01:19This is because gear is just one small piece of the puzzle. The real secret to great looking videos comes down to composition, lighting, and audio, plus one secret that I'll reveal at the end of this video.
01:30Fail to master these fundamental pillars, and it doesn't matter what gear you own, your videos will always look terrible. So let's solve that now. Starting off with pillar number one, composition.
01:42Good composition really comes down to four key ingredients, your background, your distance from the background, camera stability, and lastly, your framing.
01:51So first off, let's find a background. When picking a background, there are a few things that we definitely want to avoid. First, overly complicated backgrounds with a lot of clutter, lots of overlapping lines.
02:03Clean and simple will always look better. Make sure everything in your background has a reason for being there. Second is windows.
02:11We don't want a huge distracting light source behind us. Instead, we want it in front of us. If we aim the camera directly at a window, it creates a really strong backlight,
02:21makes it really hard to see your face. Ideally, a clean backdrop works best. Fortunately, I have this little corner right here.
02:29It's not massive, but I think it'll be the perfect background for the studio setup. Once you select your background, we can add a bit of design to it. If you have a blank wall, an easy thing that you can do is stage some furniture or decorations behind you.
02:43Now I'm gonna search around my apartment and find a couple small decor pieces that I wanna add to the shelf. I have this old camera that I'm not using, this little plant, a few books that I have never read and probably will never read, and some other small knickknacks. Alright.
02:58The next ingredient in composition is our distance from the background. Unfortunately, smartphones are known for having a very deep depth of field, which means they don't blur the background very well.
03:09That's usually one of the biggest giveaways that you're shooting on an iPhone versus a professional camera. But we can absolutely improve this by creating separation between you and the background. If you stand too close to the wall, the shot ends up looking a little flat.
03:23It starts to feel more like a mugshot than a studio setup. So whatever space you have in front of your background, move your chair forward as much as you can. Ideally, you wanna be about three to six feet away from the wall.
03:34The more separation you can create between you and the background, the more cinematic the shot will feel. Okay. On to the next part of composition,
03:42which is stability. For stability, we're gonna use a tripod for our smartphone. The one that I'm using for this studio build is the Amazon Basics extendable tripod.
03:52At the time of this recording, I picked it up for around $16, and it's honestly pretty solid. You don't need anything crazy fancy when it comes to a tripod.
04:01You just need something that keeps your phone completely still. The last thing that we would want is shaky and jittery footage. Now when setting up your tripod, you wanna place it about two to three feet in front of your chair.
04:12I found that this gives you a wide enough shot while still being able to fill the frame properly. You don't wanna look like you're floating in the middle of nowhere with a bunch of empty space around you. But on the flip side, you also don't wanna be so close to the camera that your face is taking up the entire frame.
04:28This moves perfectly into the final ingredient of composition, which is the rule of thirds. The rule of thirds is when you divide your frame into thirds,
04:37both horizontally and vertically. For positioning, we wanna align ourselves up in the center column, and we want our eyes to land right on that top horizontal bar. If your eyes are sitting on that top line and your head is in the middle column, you usually know that you're in a pretty good spot.
04:53HOOKAfter that, make sure any physical lines that are in your scene, like a door or the shelf over here, are straight up and down. Notice how if I rotate this camera slightly, my eyes are still on the top rule of thirds line, but all these background lines feel a little crooked.
05:09HOOKNow the shot just kinda feels off. Alright. Moving on to pillar number two, the big one, lighting.
05:15HOOKLighting is incredibly important because it's single handedly the easiest way to make your setup look professional. Good lighting with a smartphone will beat bad lighting with a $5,000
05:26camera every single time. To light our YouTube studio, we're gonna break lighting down into four simple steps. But first, we actually need some lights.
05:35So for this setup, I'm going to use the Torgem 12 inch LED light kit. Alright. Step number one is control the environment.
05:42That means we need to shut off all the lights in the room. If you have an overhead light, we have to turn that off. If you have a lamp, we would also have to turn that off.
05:50And if you have a window, you can use blackout curtains or anything like a blanket to block out that natural light. The goal is to eliminate all light sources, so we're starting with a clean slate.
06:04Alright. Step two is to make our light soft. The light itself is definitely important,
06:10but being able to diffuse that light or make it softer is just as important. The reason why I chose the torsion 12 inch light kit is because I wanted the biggest light possible for the least amount of money. The reason is because size matters.
06:25A larger light source is softer than a smaller one. For example, if I pointed a flashlight at my face, the light would look really harsh and unflattering. This is because this is a very small light source.
06:36But when I use a bigger light source, like this massive 120 centimeter softbox, the shadows are not harsh, and the light on my face looks very soft. Now 12 inches is solid, but we can actually make it bigger by diffusing it.
06:50In this shot, I'm lighting my face directly with the torsion light. In this shot, I put a white bedsheet in front of the light. Notice how much softer the light looks on my face while using the bed sheet.
07:01Now if you don't want to rig up a DIY setup like this, I definitely recommend getting a light diffuser panel. You can grab one for around $13 on Amazon. This works exactly like the bed sheet.
07:12Just a lot easier to set up. Again, all the links to the gear that I talk about is in the description below. Now size matters,
07:19but distance also matters as well. When it comes to lighting, an easy way to think about it is like this. You want to make the light source as big as possible and place it as close to your face as possible.
07:30The farther the light is from you, the harder the shadows will look. Alright. The next step in lighting is adjusting the direction of the light.
07:38Since we're building cinematic studio setup, we want cinematic lighting. This means we want to avoid placing the light directly in front of our face.
07:46If the light is directly in front of our face, it lights everything evenly, which tends to make our face look flat. For a more cinematic look, we need depth, which is created by shadows.
07:56So instead, we're going to move the light off to about a 45 degree angle to the side of us. Once you do that, you'll start to see more dimension on your face. Notice how this side now has a shadow.
08:08If I move the light all the way to the right, that shadow gets very intense. For this setup, that's a bit too dramatic, so I'm gonna bring it back to 45 degrees. Another reason I got the torsion light kit is because it comes with two lights, which is great because if I wanna fill in the shadows on the darker side of my face, I can set up the second light at about a 45 degree angle on the opposite side and lower the intensity.
08:32You would not want to set it as the same intensity as the main light because that would start to wash out the shadows. So instead, I'm going to keep the second light at about one third the intensity of the main light. Now if you like the cinematic lighting that you're getting from the main light and you don't wanna fill in that shadow, another option is to use that second light as a hair light.
08:52To set this up, keep your main light at the 45 degree angle right in front of you, then move the second light behind you and aim it towards the back of your head and shoulders. Notice how it lights up my shoulder and the edge of my hair. And overall, this helps with the separation between me and the background.
09:09I think my favorite setup is this one right here where I have the key light on this side, and I have the fill light on this side. So I'm gonna keep it as the setup. Alright.
09:18On to step four of lighting, which is accent lighting. Now this part is optional, but I really do think it can take your setup to a whole another level. If I had an extra $20 to spend, I would definitely pick up the Neewer Light Wand.
09:31These small lights are perfect for adding a little bit of background color to your shots. Super cool tool, and for $20, I think it adds a really professional look. Now I wanna end the lighting pillar with a quick little warning section.
09:44I know it can be tempting, but I would definitely avoid buying a ring light. They're appealing because most of them combine a tripod and a light in one, which feels really convenient. But the trade off is they won't give you the best results, especially if you're going for a cinematic look.
09:59Like we talked about earlier, because the light sits directly in front of your face, it removes a lot of the shadows on your face, which tends to make your face look flat. On top of that, it's also hard to add extra diffusion to a ring light, which limits how soft you can make it. Because lighting is so important, I definitely recommend going with the torsion light kit.
10:19Or if you have a little extra budget, you could go with the MountDog softbox lighting kit. This is a great option because it comes with a built in 19 inch by 27 inch soft box diffuser. So if you wanted to make the light look really soft, you wouldn't need to get a bed sheet or a separate diffusion panel.
10:36Just something to keep in mind if you're purchasing lights. Alright. Moving on to the third pillar, which is audio.
10:42This is a very important step in the process because audio makes up half of the viewing experience. To prove it, this video was shot in a $30,000 studio, but the audio sounds terrible.
10:53Now compare that to this basic setup with high quality audio. And, honestly, this doesn't even look average. This looks super good.
11:00A good rule of thumb is that most people will tolerate average looking videos, but almost no one will tolerate bad sound. So with that in mind, we're definitely not gonna rely on the built in microphone
11:11on our smartphone. Just to give you a reference point, the audio that you're listening to right now is coming from the built in microphone on our smartphone. Pretty rough.
11:19For our studio setup, I'm gonna go with the PQRQ microphone. The reason I chose this one is because it's wireless, which is great for YouTube setups, but it also adds a lot of versatility outside of our studio.
11:34That means you can put your phone on a tripod and get clean audio from here, from here, and even over here. Now if you wanna keep your audio under $10, a great option is the POP Voice Pro lavalier microphone.
11:46This microphone plugs directly into your smartphone with a cable. The cable comes with either six and a half foot cable or a 14 foot cable depending on what size you get. So as long as you're within that distance from your camera, it'll work great.
12:00Not bad. With that being said, I do think versatility is really important when it comes to YouTube, so that's why I tend to lean towards the wireless mic setup.
12:08It just adds a ton of creative options. Now if you do have a little extra budget, I definitely recommend the Hollyland Lark a one. I think it sounds just a little bit better than the PQRQP,
12:20and it also has built in noise cancellation. So if you're filming in a noisy environment, you can turn that on, and it will actively reduce the background noise while you're recording, which is honestly pretty clutch. Here's a quick audio test using the PopVoice Pro.
12:34Here's a quick audio test using the PQRQP. And lastly, here's a quick audio test using the Hollyland Lark a one. Of the three, I definitely think the Hollyland Lark a one wins.
12:46Alright. That wraps up our three main pillars, composition,
12:50HOOKlighting, and audio. But none of that actually matters if you skip the secret pillar that I mentioned at the beginning of this video. And the secret pillar is camera settings.
13:00HOOKIf you're not filming with the correct camera settings, your footage will never reach its full potential. Take a look at this video on the left and this one on the right. Everything about these two setups is exactly the same, except the video on the right is using the wrong camera settings.
13:16HOOKNotice how much softer it looks than the video on the left. The last thing that we would want is for you to put all of this work in and not get the best possible results just because of a settings mistake. So let's quickly go over the best recording settings for your smartphone.
13:30The first thing that we wanna make sure you're doing is using the rear camera of your smartphone. I know it's tempting to use the front camera so you can check the composition, but the rear camera is almost always better in terms of quality.
13:43One investment that could be worth it if you have a little extra budget is this selfie monitor. It attaches to the back of your phone so you can see what the camera sees while still using the main camera. That can save you a lot of time during the setup process so you know how to record a test clip, check the framing, adjust the camera, and then repeat that process again and again.
14:04Another reason we want to use the rear camera is because it unlocks better resolution and frame rate options. When it comes to resolution,
14:12which is basically the size of your video, I recommend setting it to four k if your phone allows it. For frame rate, you can set it to either 24 or 30 frames per second.
14:22Both of those options work great for talking head content. Now if you're shooting on an iPhone, there are two settings that apply to you that I briefly wanna touch on. The first one is turning off HDR.
14:33When HDR is turned on, your iPhone tries to make the bright parts and the dark parts look detailed at the same time. So if there's a bright window behind you and your face is darker, your iPhone will automatically try to brighten your face and darken the window so everything looks evenly exposed. And that sounds great on paper, but in practice, it just kinda makes your video look too bright, too contrasty,
14:57or it kinda just throws off the colors when you go to import it into your editing software. Instead, I recommend turning HDR off and then just focusing on good lighting. Strong lighting will improve your video far more than HDR ever could.
15:10Now a setting I would turn on is lock white balance. This makes it so once you hit record, the color temperature doesn't start shifting on you. Now if you're doing some vlog style content or filming outdoors,
15:22you actually might wanna leave this off. That's because the lighting changes constantly. So allowing the white balance to adjust could actually help you in those situations.
15:30Alright. That does it for the secret pillar. Now as promised at the beginning of this video, let's take these skills and knowledge that we just covered and use them to build two additional setups.
15:40CTAAnd right before we get into those setups, as a thank you for watching this video, I'm actually going to be giving away this entire studio kit. This includes the Torturem 12 inch light panels, the tripod, the newer light sticks,
15:53CTAand the Hollyland Lark a one microphone. Pretty awesome. To enter the giveaway, you need to do four things.
15:59CTAFirst, like this video. Second, leave a comment. Third, hit the subscribe button.
16:04CTAAnd fourth, in the description below this video, click the giveaway link and enter your email address. Two weeks from the posting date of this video, I will randomly select somebody and then email you to get your shipping address. To make this even better, whether you win or not, immediately after submitting your email address, you'll automatically get our social media and YouTube editing template pack.
16:27CTAThis has some awesome templates inside like color grading LUTs, sound effects, graphics, and more. So go pause the video and do those four things now if you wanna get a chance to win the YouTube Studio Kit.
16:40So here we are, unique setup number one, and we're using the same exact gear, just a different background. And really the only adjustments that we made, so we just increased the color temperature on this to make it a little bit more cool. Here's what it looks like before we change the color temperature to make it more cool.
16:56And here's what it looks like a little bit more balanced. So here we are. We set up the newer light sticks to shoot at this wall right here.
17:02We're shooting it through the leaves right here. It kinda adds a little bit of unique texture versus just kinda blasting it right at the wall. And then here we are.
17:10We have our fill light right here. We have our key light right here. So this one's a little bit lower intensity
17:16on the brightness, and then this one's just a little bit stronger than that one. So this one right here is just kinda putting a lot of light on our face, and this one's kinda filling in the shadows on this side. Alright.
17:25And here we are with the second unique setup. Now this one, it looks a little bit different because we're not in an office right now. We're actually in the downstairs living room and the lighting setup is different.
17:37As you can see, we have the key light right here and instead of having another light right here to fill in for the shadows, we drop the light back and now we have a hair light going on. Obviously, the setup coming a little over budget because of the fireplace back there, but you gotta make do with what you have. You might have some really cool things in your house or apartment that you can use to create a really cool setup like this one.
18:00Really quick, I'm gonna show you each individual component layered on top of one another so you can see what each thing looks like individually. Here's what the scene looks like with just our key light. Here's what the scene looks like with just our backlight.
18:13Here's what the scene looks like with our two main lights. Now we've added two lights onto the shelf. There's kind of this dark area going on in the bottom left hand corner of the frame.
18:22So what we're gonna do is add a tube light and match the color temperature of the fire. And just for fun, here's what the back tube lights look like just by themselves. And just to show you how important lighting is, this is what the scene looks like with no film lights, just the overhead lights.
18:38So there we go. Three completely different setups, all using the same exact gear that we got on Amazon for under a $100. Now as you learned, gear alone won't give you a cinematic setup.
18:49The lighting, the composition, the camera settings, the audio, the editing, the color, the sound design, the story, those are all of the ingredients that make a video look amazing.
19:00Learning all these skills can take years to master. You could spend hours on YouTube jumping from one creator to another, piecing together random bits of information, trying to find the answers that you're looking for.
19:12And that massively delays your goal in making YouTube videos in the first place. That's exactly why we built a streamlined program called 14 filmmaker. This step by step program contains over 150
19:24CTAstep by step tutorials walking you through every single aspect of the content creation process. From the technical side of what gear to use, the right camera settings, how to light like a pro, capture cinematic movement, record and edit high quality audio, how to tell captivating stories,
19:41CTAand an insane amount of editing training that will take you from beginner to absolute ninja. Included in this course are individual bonus courses that cover mastering the process of shooting and editing on your smartphone, a deep dive into professional cameras, and an entire curriculum on master ing YouTube, including how to get tons of views and build an amazing subscriber base.
20:03CTAYou get lifetime access to all of that plus bonus sound effects, editing cheat sheets, and access to our weekly live q and a calls where you can hop on and ask Anthony any filmmaking questions you have. You get access to all of this for a small one time fee of $48. If you're interested, maybe want to enroll, all you have to do is click the link in the description of this video.
20:26CTAAlso, if you found this video helpful, be sure to hit that subscribe button, and I'll see you in the next one.
— full transcript
§ 05 · For Joe

Four variables that actually control how professional your video looks.

WHAT TO LEARN

Gear budget is the last variable to optimize — the four fundamentals that precede it are free or near-free to improve.

  • Background separation matters more than background quality: standing 3-6 feet from your wall creates the depth-of-field blur that smartphones cannot do optically.
  • Light softness is a function of source size relative to your face, not price — a $13 diffusion panel in front of a cheap LED panel produces the same soft shadow gradients as a professional softbox.
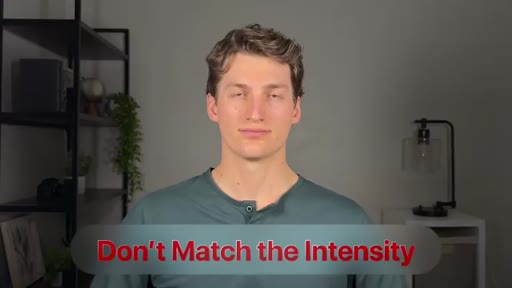
  • Placing your key light at 45 degrees off-axis creates the facial shadow depth that makes a shot feel cinematic; a fill light at one-third intensity preserves depth while removing harshness.
  • Ring lights are a structural mistake for talking-head content: they sit directly in front of the face, eliminating the shadows that create dimension.
  • Most viewers tolerate average-looking video but will abandon bad audio immediately — investing in a $50 wireless lavalier has more impact on retention than any camera upgrade.
  • On an iPhone, turning off HDR and locking white balance removes two automatic adjustments that introduce unpredictable color shifts when you have controlled studio lighting.
  • Using the rear camera instead of the front camera on a smartphone is free quality improvement — the rear sensor is almost always significantly better in low light and resolution.
  • Composition, lighting, audio, and camera settings are independent variables: fixing one without the others still leaves visible gaps, which is why most cheap setups look inconsistent rather than just low-budget.
§ 06 · Frame Gallery

Visual moments.