Create a Pro Website · Youtube · 08:18

Why My Websites Always Look Premium & Expensive

Five design habits -- gradient, motion, space, depth, color -- that any Elementor builder can apply in an afternoon.

Posted
November 7th 2025
6 months ago
Duration
08:18
Format
Tutorial
educational
Channel
CA
Create a Pro Website
§ 01 · The Hook

The bait, then the rug-pull.

The difference between a website that looks like it cost $500 and one that looks like it cost $10,000 is rarely the tool -- it is five design habits most builders skip entirely. Dale from Create a Pro Website demonstrates each one live inside Elementor, clicking through the exact settings that separate a flat, forgettable hero from a layout that stops scrolling.

§ · Chapters

Where the time goes.

00:00 – 00:29

01 · Intro

Promise: show not tell. No coding required. Sets up four real sample sites used throughout.

00:29 – 01:39

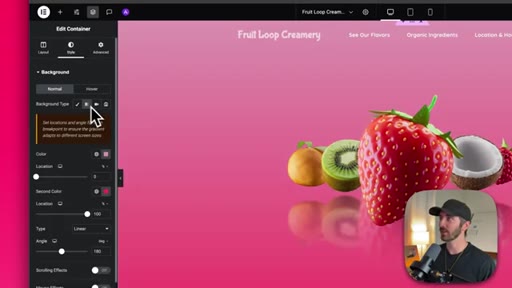
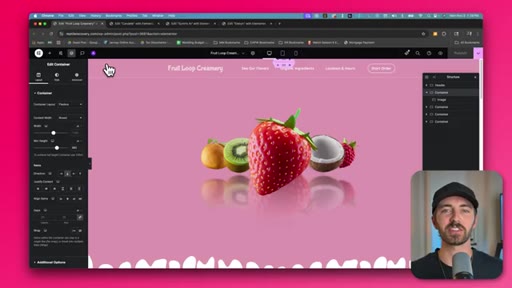
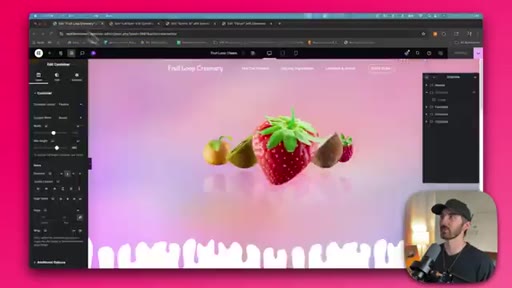
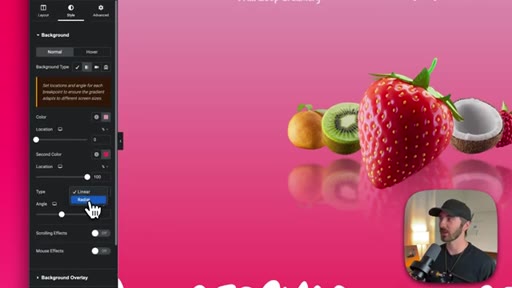
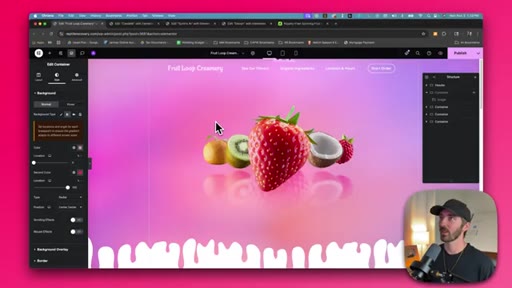
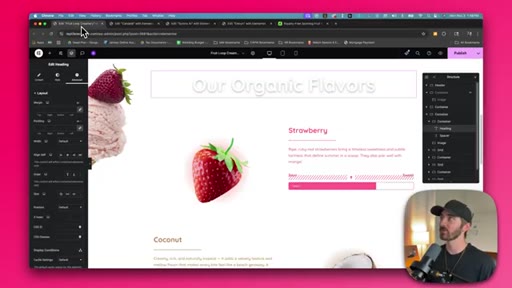
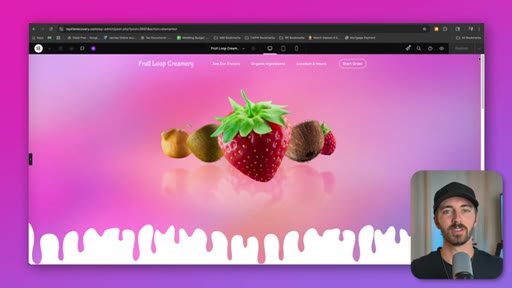
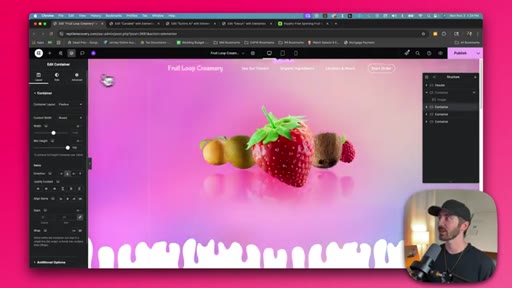
02 · Tip 1: Gradient Backgrounds

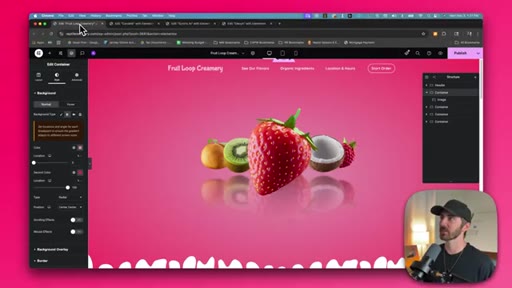
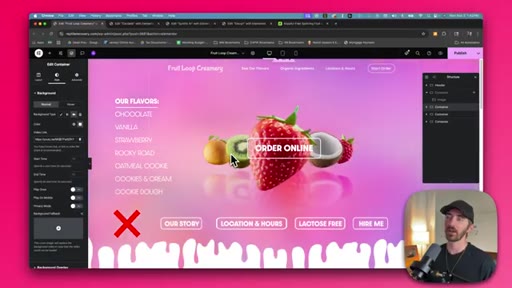
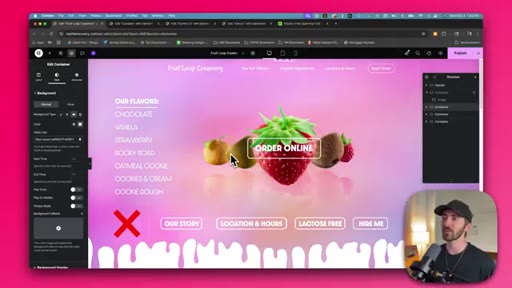
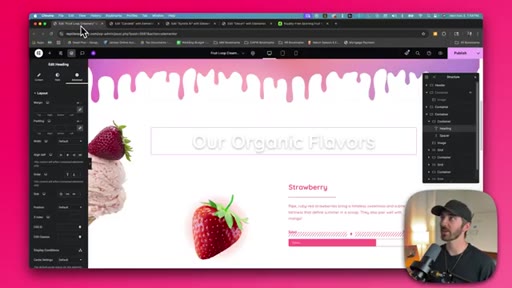
Radial gradients (darker outside, lighter center) add depth to hero sections. Demo: Elementor Style > Background > Gradient > Radial, applied to the Fruit Loop Creamery site.
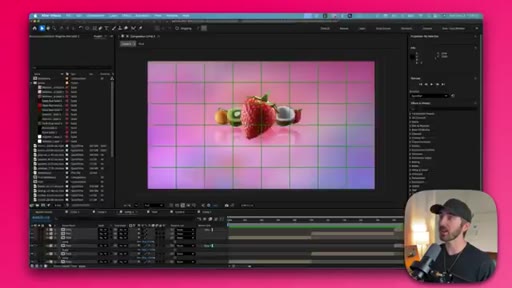
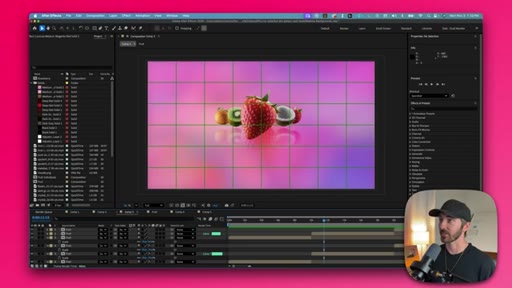
01:39 – 03:47

03 · Tip 2: Motion

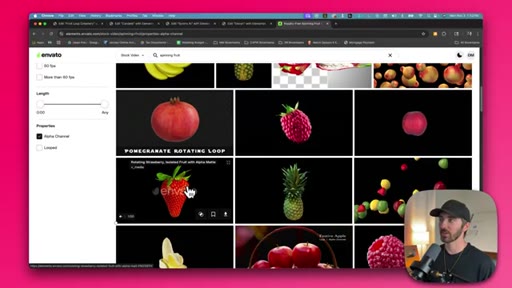
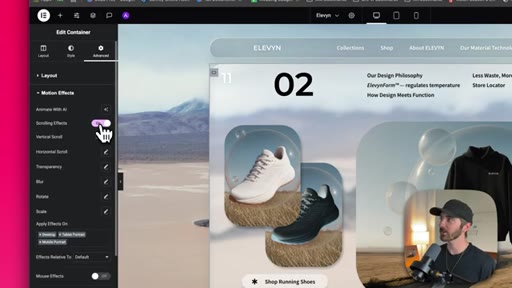
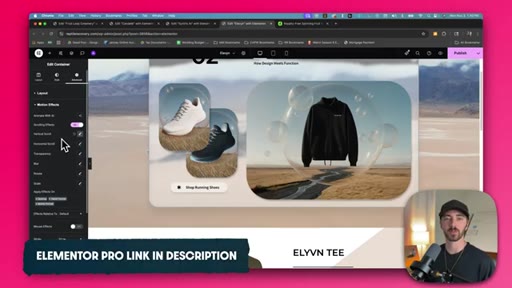
Three techniques: looping video background (unlisted YouTube embed), mouse-parallax, scroll-triggered parallax/blur/dim. Elementor Pro required for scroll effects.

03:47 – 05:03

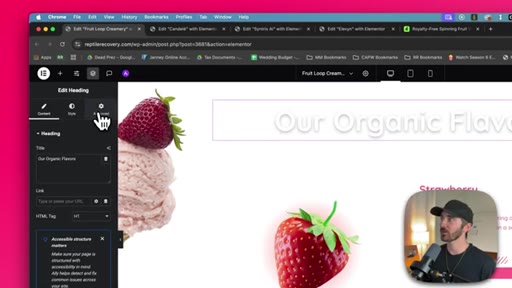
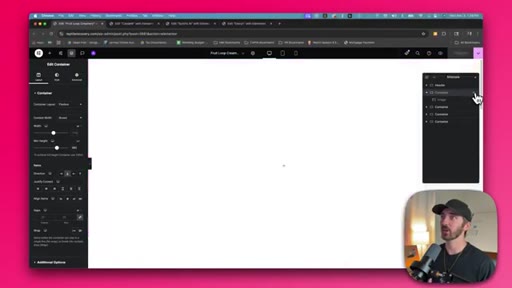
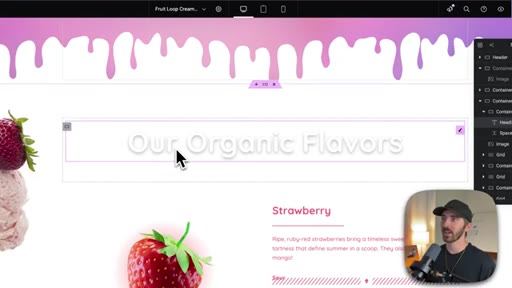
04 · Tip 3: Use of Space

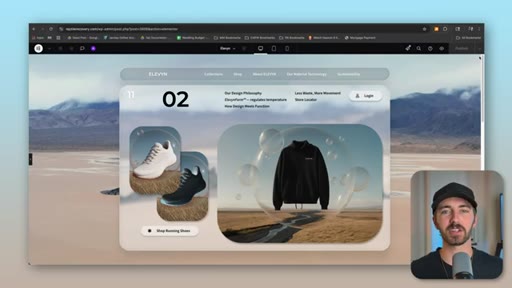
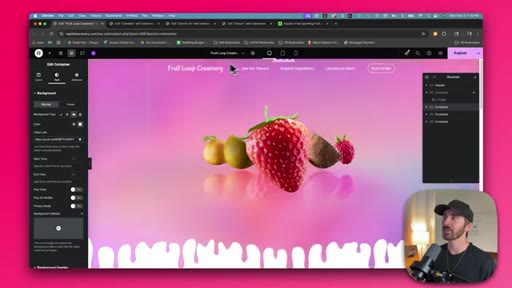
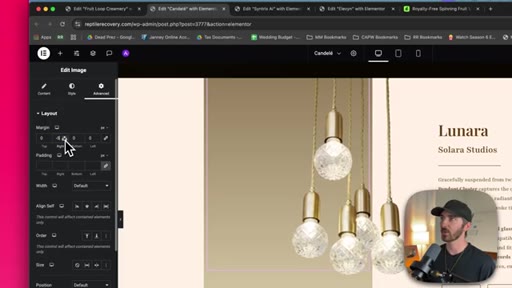
Most sites fail by cramming too much into the hero. Fix: strip to nav + primary offer, apply generous padding via Advanced > Padding.
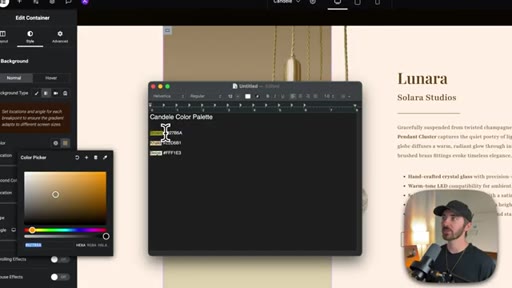
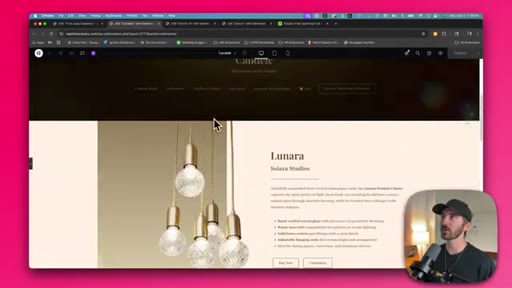
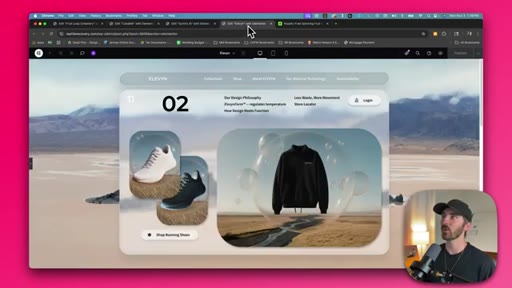
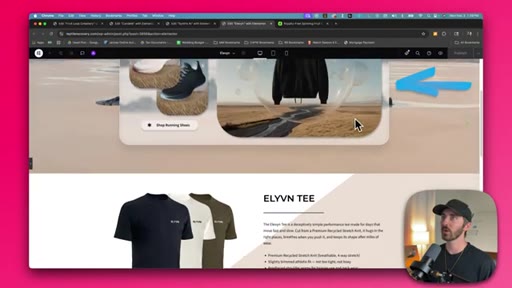
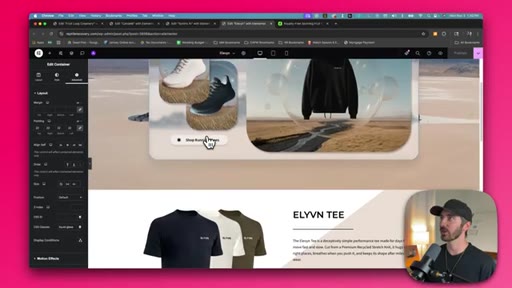
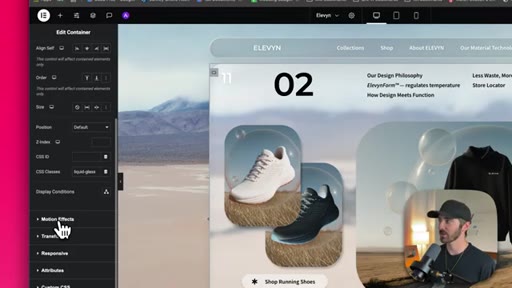
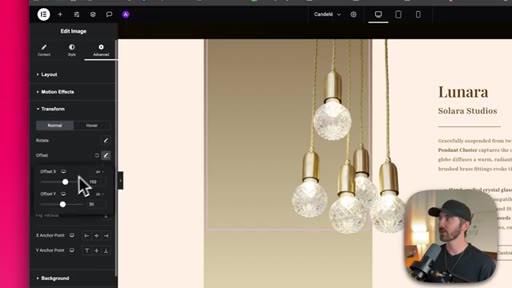
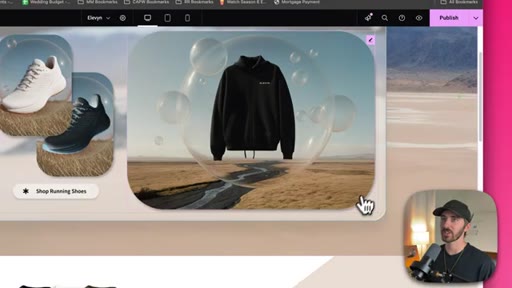
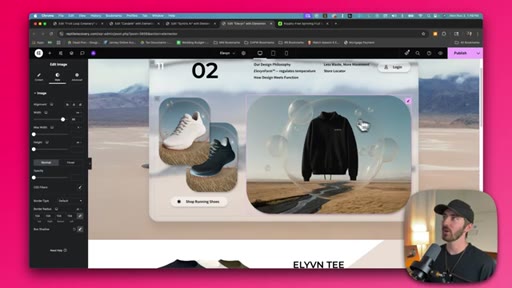
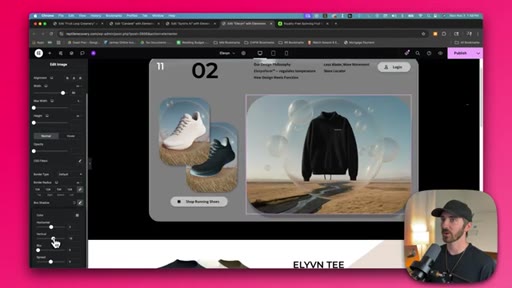
05:03 – 06:45

05 · Tip 4: Depth

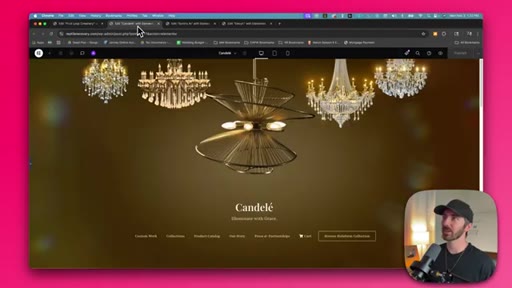
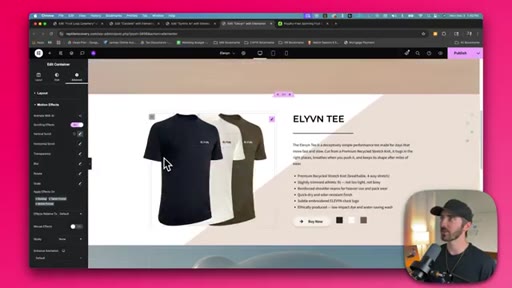
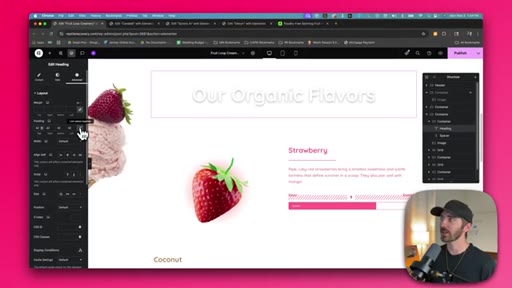
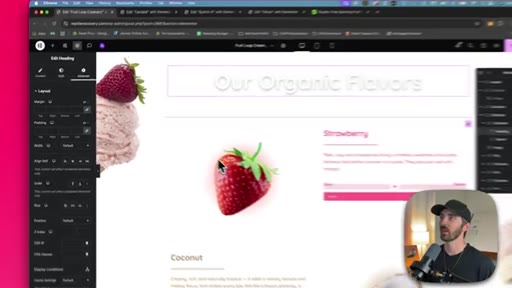
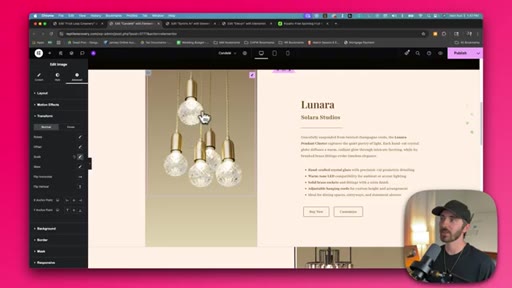
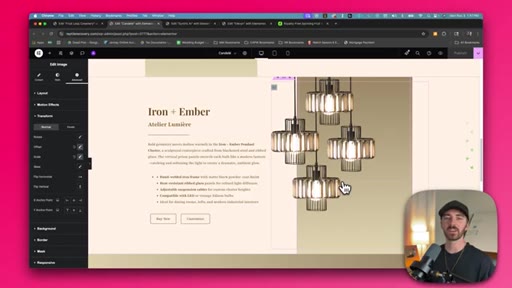
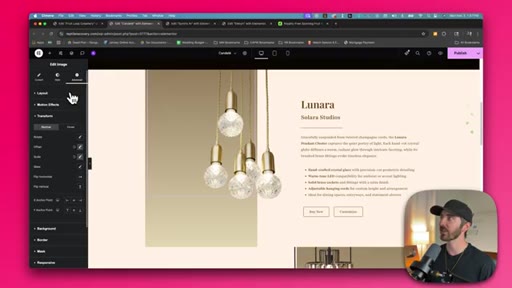
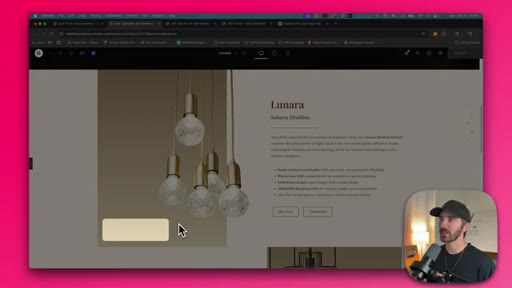
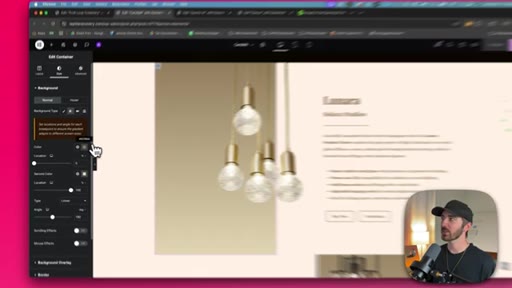
Offset images outside their containing box using Margin (free) or Transform > Offset (Pro). Add text shadows and box shadows. Demo on the Lunara lighting product page.

06:45 – 08:18

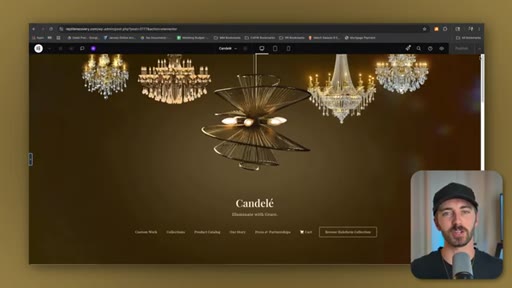
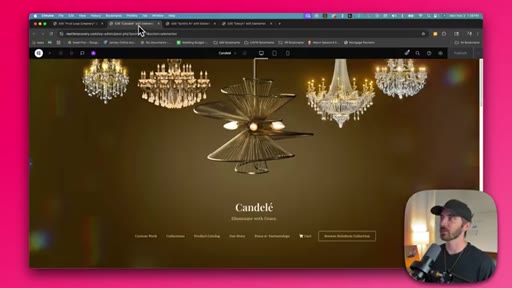
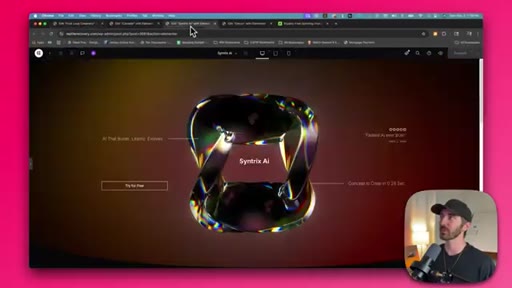
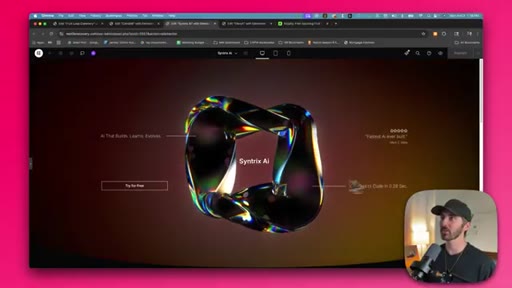
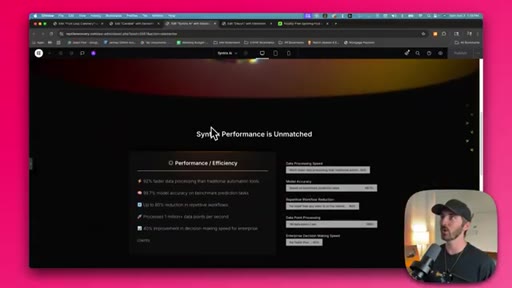
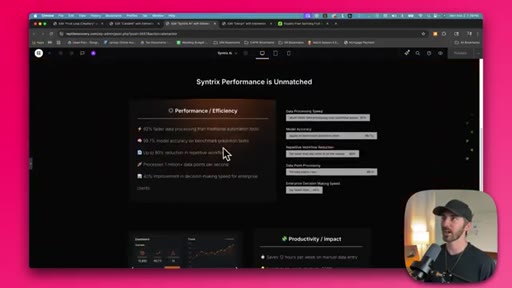
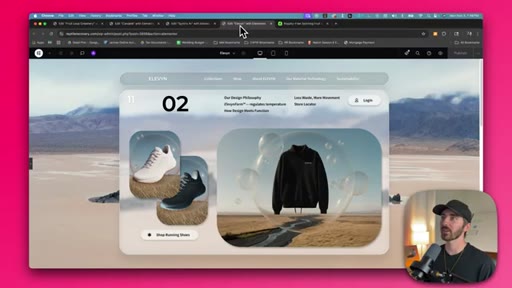
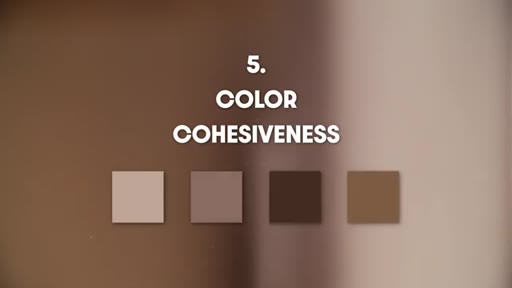
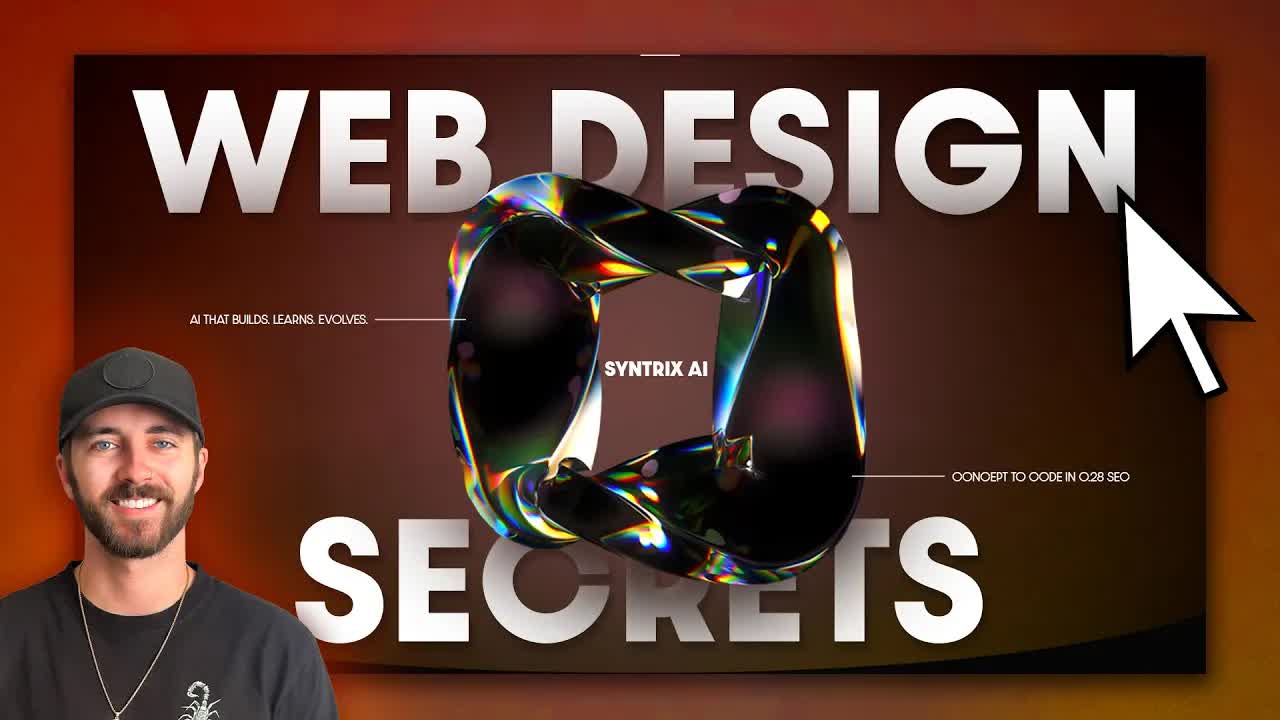
06 · Tip 5: Color Cohesiveness

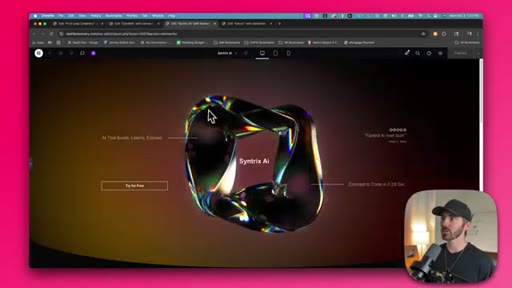
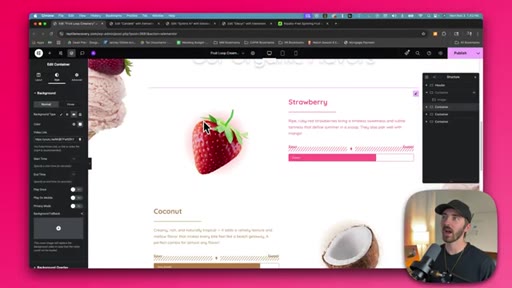
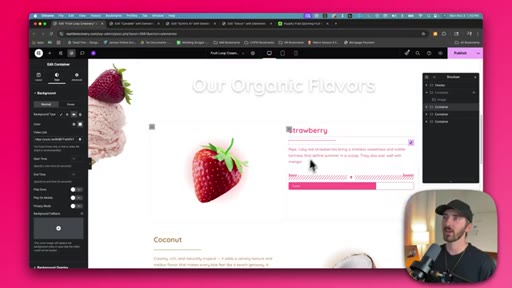
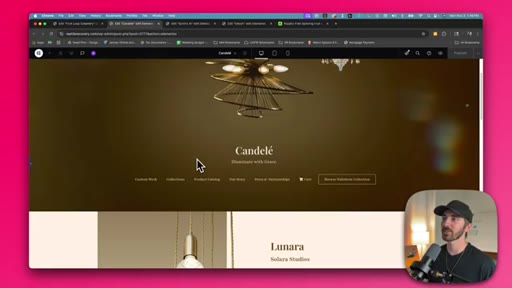
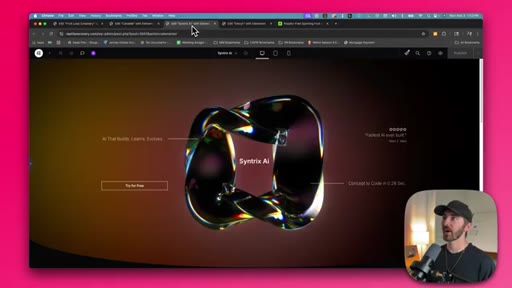
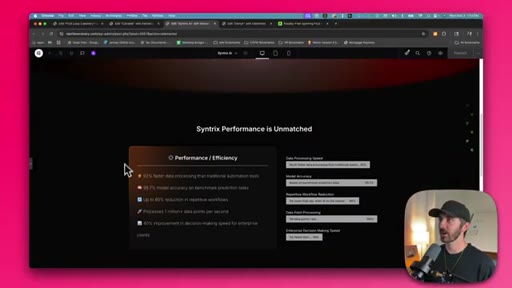
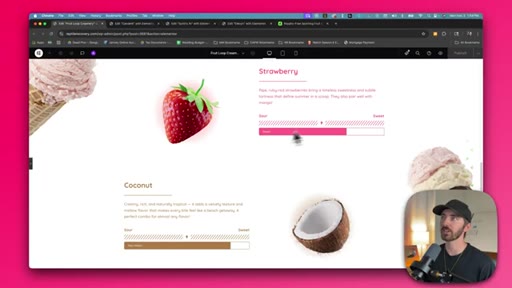
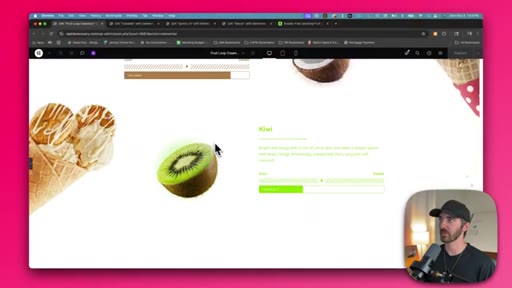
Three-color palette stored in a text file and applied everywhere including body text. Demos: Candele (brown/khaki/off-white), Syntrix AI (black/orange), Fruit Loop Creamery (fruit-matched accents).

§ · Storyboard

Visual structure at a glance.

hook -- talking head
tip 1 -- Candele gradient
tip 2 -- motion title card
motion -- Elementor video bg
tip 3 -- use of space card
tip 4 -- depth / Lunara
tip 5 -- color cohesiveness
color palette text file
CTA -- like/subscribe
§ · Frameworks

Named ideas worth stealing.

00:29 list

Five Premium Design Principles

  1. Gradient Backgrounds
  2. Motion
  3. Use of Space
  4. Depth
  5. Color Cohesiveness

Five sequential techniques demonstrated live in Elementor that collectively produce a premium-looking website without custom code.

Steal for A checklist for reviewing any site before delivering to a client or launching
§ · Quotables

Lines you could clip.

00:33
"Flat colors are fine, but gradient backgrounds just add so much more life to your hero section."
Punchy before/after contrast in one sentence → TikTok hook
01:36
"Motion gives your site a lot of personality."
Six words, complete idea → IG reel cold open
04:01
"You'd be surprised how often more space will just instantly fix the issue."
Counterintuitive -- no design skills required, just delete things → newsletter pull-quote
05:38
"The technique here is to experiment playing outside of the lines."
Memorable standalone principle → IG reel cold open
§ · CTA Breakdown

How they asked for the click.

08:01 subscribe
"If you found this video helpful, please hit that like button. And if you want more design tips, feel free to subscribe to the channel."

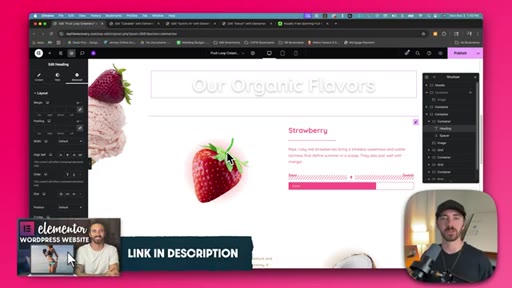
Soft and conversational; also plugs an Elementor Pro affiliate link in description and a full WordPress/Elementor tutorial via in-video card.

§ 04 · The Script

Word for word.

HOOK opening / re-engagementCTA the pitch
00:00HOOKDo you wanna know how to make your websites look super premium and next level? Well, it's actually just a few super simple design techniques that most people overlook.
00:09HOOKBut instead of telling you, I'm gonna show you exactly what I did to each one of these websites to make them look clean, modern, and professional. And I'm even using a really basic drag and drop tool called Elementor to build these sites, so you don't need to know any coding in order to pull off a professional look like these.
00:25HOOKAlright. Let's get right into it.
00:29Okay. So number one is the use of gradient backgrounds. Flat colors like this are fine, but gradient backgrounds just add so much more life to your hero section.
00:39And especially this where it's darker on the outside and light on the inside. It really helps draw the eye towards the center. These backgrounds are ones that I made myself in After Effects, and then I just baked them into the background of the video.
00:53But you can make these inside of Elementor. So all you have to do is just click on the section that you wanna edit, and then just go over to style, and then you would just click on gradient,
01:03and then you can create a gradient from here. All you do is just edit these two colors here, and then you can also change the type from linear to radial. And now this is darker on the outsides than it is on the inside.
01:16And then all I did was just simply drop in an image widget into the center, and then I just replaced it with this fruit, which is on a transparent background. And these gradients can be darker on the outside than they are on the inside,
01:29or they can just be a mix of different colors that really helps add a lot of life to the background instead of just a solid color. Now this looks better, but it still feels lifeless. So the next tip is to add motion.
01:42Motion gives your site a lot of personality. And I found these spinning fruit elements on envato.com. So I just went up here and typed in spinning fruit.
01:53And then you just come down here and then you just filter by alpha channel. And if you scroll down, you can find a lot of awesome elements that you can just throw right onto a gradient background and use on your site. And that's what I did here inside of After Effects.
02:08And you don't need to use After Effects. You can use any editor that comes with your computer. It could be a simple free one.
02:14You don't need something like this. So I made it an unlisted video on YouTube, and then I just came over to my container,
02:21went over to style, and then I just clicked on video, and then just pasted that link in right here. And I also add motion in really subtle ways too.
02:29So if I go over to this AI company website that I made and I move my mouse around, you can see that these elements on screen are kind of moving opposite to my mouse. Or if I scroll down, the whole hero section gets blurry as we go into the next section. And that really helps draw focus
02:45towards this next section. Or if I go over to this lighting company website that I made, can you see that if I scroll down, the whole hero section gets dark. It starts to dim as I go down.
02:56And then my eye is more naturally drawn to the next section. Or this outdoor athletic brand that I've got here, you can see that if I scroll down, this whole window starts to move upwards and kind of get out of the way. And it's just a little bit of subtle movement, but again, it really helps draw your eye towards this next section.
03:14And if you have Elementor Pro, you can achieve effects like this by just going over to the section that you wanna animate and clicking on it. And then going over to the advanced tab, and then coming down to motion effects.
03:25And here you can see I've got the scrolling effects turned on. So you've got scrolling and mouse effects. I've got the scrolling effects turned on, and I've done a vertical scroll here.
03:34So that whenever I scroll down, this whole section kinda moves up. This tab inside of Elementor Pro is super super helpful. Also, you want Elementor Pro, I'll put a link down in the description so you can go get that.
03:47Okay. So the next tip is the use of space. So this is where a lot of websites fail because they wanna cram as much useful information
03:54into one section as possible so that the viewer doesn't miss anything. But in reality, the opposite is true.
04:00HOOKCTAIt starts to feel too crowded, and it's kind of annoying to skim, and you don't know where to look. So instead, I don't really add anything to my hero section other than my navigation menu, and then whatever product or service that I'm trying to promote. And then same with the rest of the website.
04:15HOOKCTAI add a lot of padding around all of my elements. And this just gives each important element on your website room to breathe. So you can click on any section,
04:25CTAcontainer, or element, and you can just click on it, go over to advanced, and then you just add padding around that.
04:31CTAAnd then that will just create space. And you can also unlink these values and play with separate ones. So you could do just top and bottom and delete the right and left.
04:41CTAYou'd be surprised how often more space will just instantly fix the issue. Also, if you wanna learn how to use Elementor like a true pro, I've got an awesome tutorial for how to create a WordPress website with Elementor down in the description, or you can just click on the card at the top right of the screen.
04:56CTAI go much more in-depth on how to master Elementor to create beautiful websites, and I highly recommend it. Okay.
05:03So next, we have depth. And I add depth to my websites in a couple of really subtle ways. So the first is actually just adding an image over top of a colored box and then just offsetting it a little bit so that it's not right inside of this box.
05:18It's actually off to the side and it feels like it's more in front of this box. So if I reset this to put the lighting fixture right in the middle of this box, it doesn't look bad. It just doesn't look as good as creating more depth by moving this outside the box a little bit.
05:33And again, same with this one down here. The technique here is to experiment playing outside of the lines. If you're using the free version of Elementor,
05:41you just click on the image and then go over to advanced, and then click on layout, and then you just unlink the margins, and then you can just play with the values to offset them wherever you want. And if you're using the paid version of Elementor,
05:53what you do is just click on the image and then go over to transform. And then you just come down here to offset, and then you can just play with these values here by just dragging the slider, which I think is a lot easier.
06:05I also add depth in really subtle ways as well. Like if I go over here, you can see I've got a text shadow behind this text, and it kinda helps it pop off the screen a little bit even though that this is a white text on a white background. Or if I go over to this athletic brand that I was working on, you can see that there's a box shadow
06:23around this image, and it just helps it peel off the page a little bit more. So to achieve an effect like this, you just click on the image or container, anything that you wanna add a shadow to, and you just go over to style, and then you can see box shadow down here. You just click on that and then adjust accordingly.
06:40So you can see if I move this up and down, that box shadow is getting bigger or smaller. So last but not least, we have color cohesiveness or the use of a color palette. So for all my websites, I try to pick three colors that match the brand or product or service that I'm promoting.
06:56So you can see here for this one, we've got this brown color here, and then we've got a khaki color down here, and then this really off white beige color. So once you have the colors that you like, just go ahead and grab them, copy them, and then all you gotta do is just put them into a text document.
07:13That way you can just copy and use these anywhere on your website. And I use them everywhere on my site including the text. And you can see on my AI website that we've got this kind of orangish reddish color.
07:25And if I scroll down, I use that orange down in this section as well. And this is only two colors. This is just black and orange.
07:32Or even websites with a lot of color like this ice cream website, you can see I'm still using color cohesiveness because I'm matching the color of this text to the corresponding fruit. So same with the coconut and same with the kiwi. And when you put all five of these design principles to use, you can get some really beautiful websites.
07:50CTASo that's the secret behind why my websites always look premium and high quality. And again, if you wanna learn how to use Elementor like a pro, I put an awesome Elementor tutorial in the description, or you can just click on the card right on the screen.
08:03CTAIf you found this video helpful, please hit that like button. And if you want more design tips, feel free to subscribe to the channel. And drop me a comment if there's any design tips that you use that I could maybe include on a part two to this video.
08:14CTAAlright. My name's Dale, and I will see you on the next one.
— full transcript
§ 05 · For Joe

Five design habits that close the premium gap

WHAT TO LEARN

Premium websites are not built differently -- they apply five habits consistently that most builders skip after finishing the basic layout.

  • Gradient backgrounds, especially radial ones lighter at the center, make a hero section feel designed rather than default -- and the setting is two clicks inside Elementor.
  • Posting a looping asset as an unlisted YouTube video and embedding it as a section background is a zero-cost way to add motion that reads as high-production.
  • Scroll-triggered effects (parallax, blur-on-scroll, dim-on-scroll) guide the visitor eye to the next section without requiring any CSS or JavaScript -- just the Elementor Pro Motion Effects toggle.
  • Stripping the hero to only navigation and the primary offer, then adding generous padding around everything else, is the single fastest fix for a site that looks amateurish.
  • Offsetting an image so it visually breaks outside its containing box by 20 to 30px creates a depth illusion that signals a designed layout at a subconscious level.
  • A three-color palette stored in a plain text file, applied everywhere including body text, prevents the color drift that makes multi-section websites feel assembled rather than designed.
§ 06 · Frame Gallery

Visual moments.